Harley Davidson Touring: Top 7 Performance Modifications
Why is it that we still look for ways to eke out one more horsey? Baggers are meant to be comfortable on long distance mounts, for mile after mile of touring. But if you insist on making yours faster, here are some of the most popular and effective performance mods you can do.
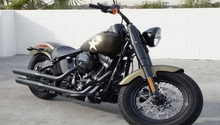
This article applies to the Harley Davidson Touring (1999-2014).
Your Harley Davidson Touring bike is the king of the road. Yet, when you ride, are you looking for a little more thrust when you give the throttle a twist? Perhaps you just want to uncork the motor so you can hear it sing at full voice? There are so many options out there when it comes to performance modifications for your Harley that it is hard to know where to start. Some of options are better than others, and some may be flat out worthless, designed to separate you from your hard earned money. Before you part with your cash, decide what it is that you want to accomplish and you'll get there much quicker, with less wasted effort and money. Here are seven of the most popular performance modifications on the market today; we normally just list five, but the first three are commonly done together as a first step often referred to as "Stage 1."
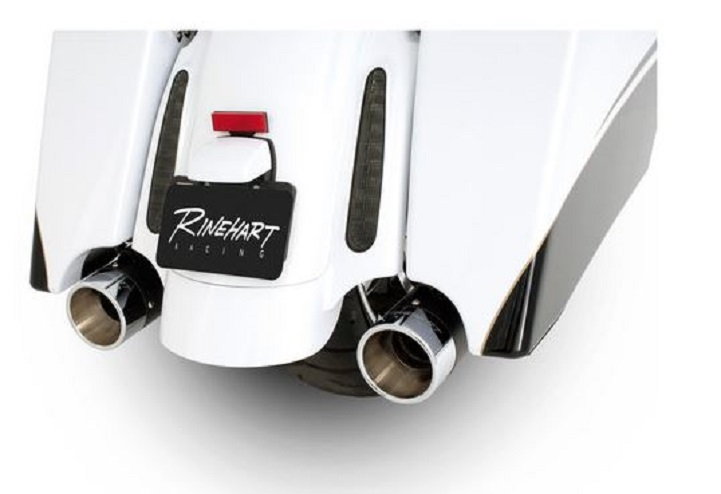
#1 Exhaust System
DIY Cost – Slip-ons $300-600+, Full System $600-1,500+
Professional Cost – $150, plus parts
Skill Level – Easy; just unbolt and bolt on new parts.
Perhaps the cheapest and easiest mod you can make to your ride is swapping out the stock pipes with a set of aftermarket mufflers. Even better is fitting aftermarket true-dual pipes, or a performance tuned 2-into-1 full exhaust system. Slip-on mufflers give you a small horsepower boost without the need for an aftermarket fuel tuner; though, the gains are even better with an intake and new fuel map. A full system will also eliminate the catalytic converter in late model bikes, and allow better breathing and scavenging. Adding pipes or slip-ons are great DIY projects that you can do in your own garage in just an hour or two, depending on your bike and the system. It is a popular joke that 99% of all Harleys have aftermarket exhausts, and the stock parts seldom even make it home from the dealer with the bike, because they get swapped on purchase.
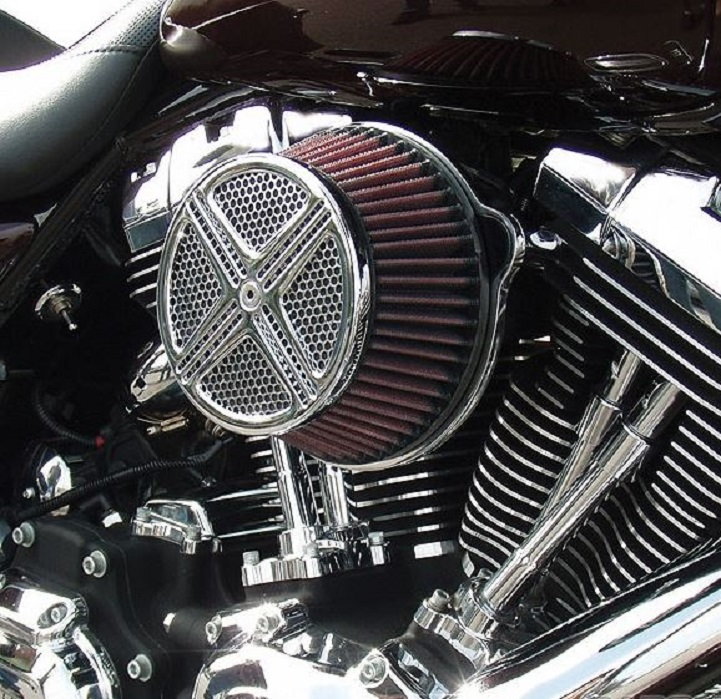
#2 Air Intake
DIY Cost – $60-400
Professional Cost – $100, plus parts
Skill Level – Easy; this can be done in literally minutes with the most basic tools.
A freer flowing air cleaner is a small investment that will make a big difference in HP and performance. The stock intake not only keeps the air clean, but it is needed to keep the motor quiet. There are a multitude of air cleaners on the market that flow more than stock, from the low cost of just adding a K&N element to a modified stock box, to lighter, meaner looking ones like the one pictured above. You can go with a mean look or a traditional look, blacked out or high polished chrome. Combine a free flowing air cleaner, with a un-muffled exhaust, and you've got an extra helping of power and the complete "Stage 1" kit.
#3 Stage 1 Download
DIY Cost – N/A
Professional Cost – Typically $150 for the dealer to load it
Skill Level – Easy; you just write the check.
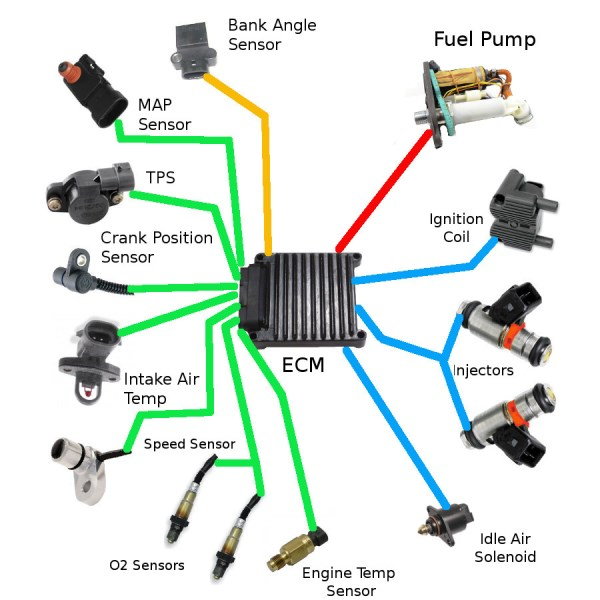
Unfortunately, unless you want to dig deep into it and dedicate yourself to motor vehicle computer control systems, you can't do this one yourself, at least not cheaper than the dealer will do it for you. The "Stage 1 Download" is a remapping of your engine control module (ECM) developed specifically for bike that have swapped out the stock parts for Screamin' Eagle intake and freer flowing mufflers. It is better than the stock map, and a good choice for most mildly modified bikes.
#4 Cams
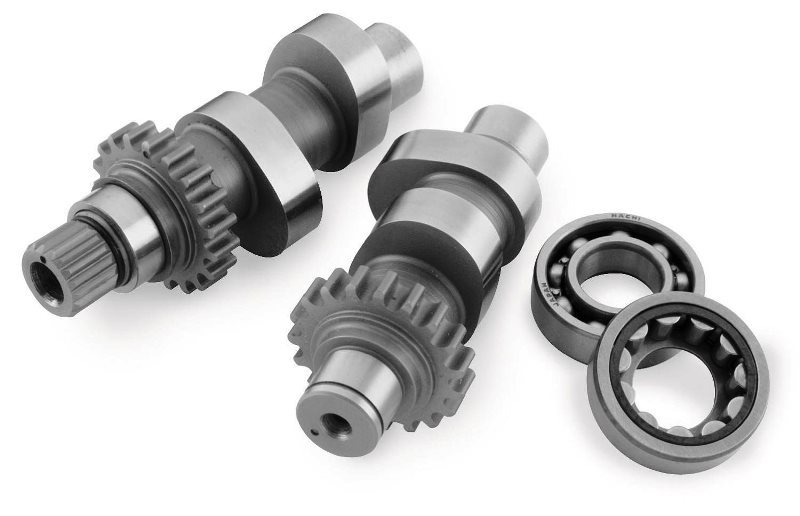
DIY Cost – $200-400 for cams, plus gaskets
Professional Cost – $400 for labor, plus parts
Skill Level – Moderate; you will have to dig into the motor, but it is only minor surgery.
Cams are only moderately difficult to install and a very economical way to get a big boost in performance for your tourer. The cams tell the valves when to open and close, and performance examples will keep them open much longer to get more fuel and air into the motor. Of course this means you will get worse fuel mileage, but there is a cost for everything. Cams are the single best way to undo the years of de-tuning the factory did in order to meet smog laws. Some popular brands are Screamin' Eagle, Lunati Voo-Doo, and Andrews.
#5 Computer Tuner
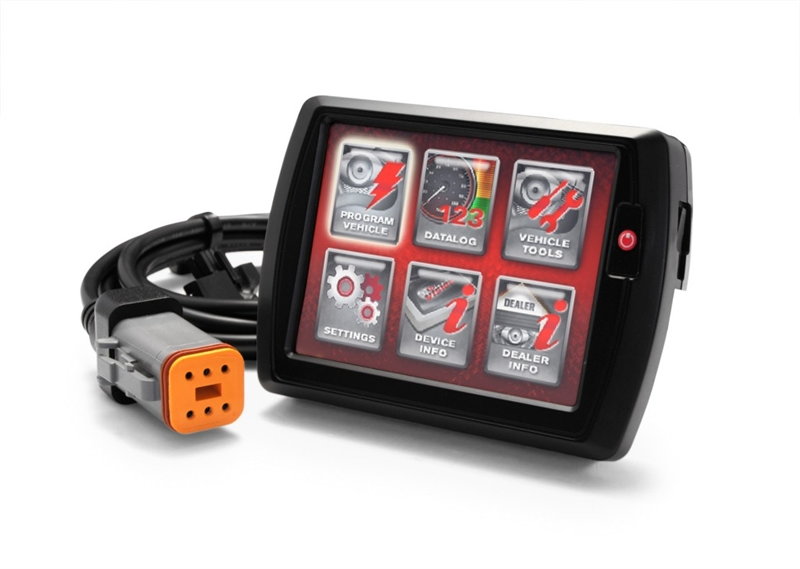
DIY Cost – $200-500
Professional Cost – $100, plus parts
Skill Level – Moderate; depending on the unit, it may require some adjusting once hooked up.
Once you move beyond the basics, the stock ECM unit is not going to be able to keep up with the demands of the motor. A tuner piggybacks on the factory system, and just whispers to it the data it wants to hear to keep it purring like a kitten. The simplest ones just richen up the fuel mixture and advance the timing, monitoring all the stock sensors and sometime second guessing them. The more advanced units allow you to download custom maps from performance shops, toggle between multiple maps, and even program your own map starting from zero, or the pre-programmed maps. Even if you are not comfortable with computers, or tools, you can install one of the basic "auto-tune" type tuners in just an hour or so and enjoy increased performance.
#6 Total Engine Upgrade
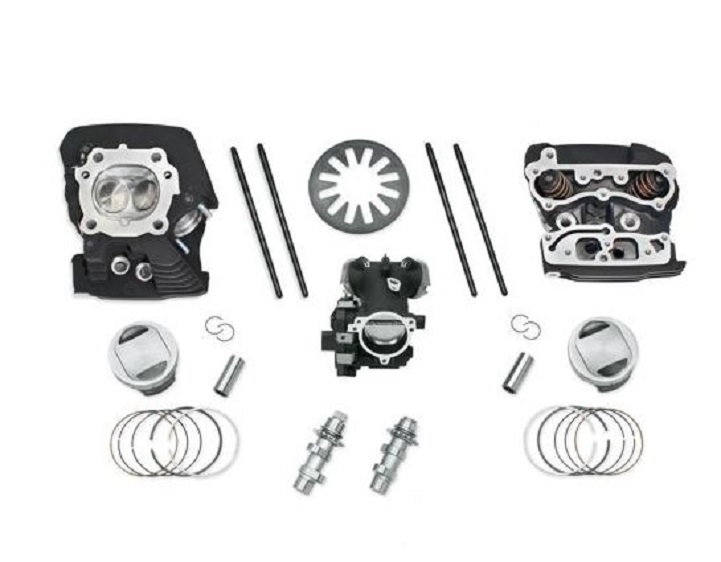
DIY Cost – $2,000-6,000
Professional Cost – $500-unlimited, plus parts
Skill Level – Moderate to Expert; swapping in a whole new motor isn't too hard, but adding a kit to an existing one is.
Just like with many cars, you can get kits to upgrade the internals of your Harley Davidson motor for better performance. You can even get these kits directly from Harley themselves, to make your normal 103 motor into the same specs as the CVO 110 versions in the limited release models. Perhaps the easiest total upgrade, though, is to buy a complete high performance motor, direct from the parts and service department. A Screamin' Eagle 120ci motor will set you back nearly $6,000, not including the installation, but it does come with a full one year factory warranty. You could have your motor rebuilt and improved at an independent shop, or even your Harley dealer, and still never get that kind of backing if something goes wrong.
#7 Supercharger
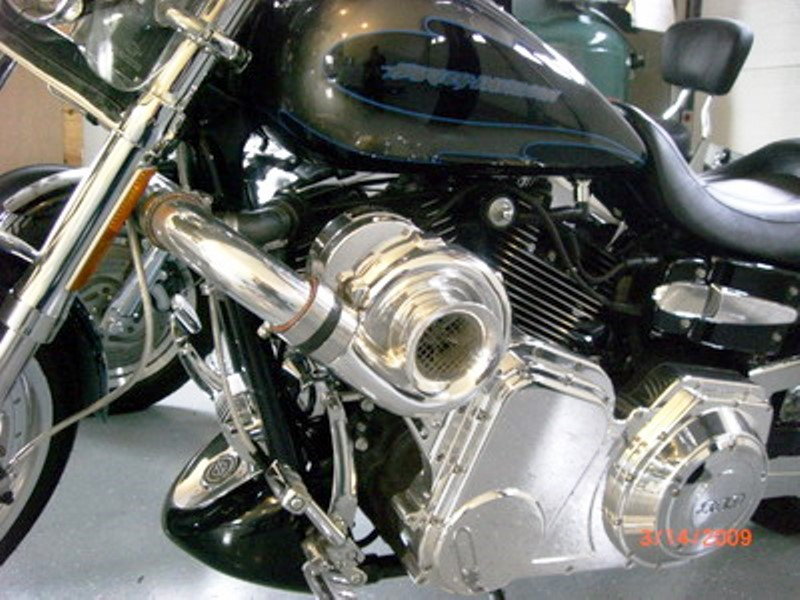
DIY Cost – $5,000 and up
Professional Cost – Unlimited
Skill Level – Expert; not only does this require a bunch of installation work, tuning is also needed.
If money is no object and you are worried about insurance and reliability, a supercharger might be just for you. ProCharger has a complete kit with a small integrated intercooler mounted on one side, and a belt driven blower on the other. There is no denying that these kits are expensive, but there is also no denying the dyno tested 40 to 60% increase in power you get. There are also turbo kits with similar costs and benefits. If you really want to go this way, it is best to seek the advice of a knowledgeable builder/tuner with forced induction experience.
Related Discussions
- Performance Upgrades? Best Bang for Your Buck - HDForums.com
- Who Makes the Best Performance Exhaust - HDForums.com
- SE Pro 103 Performance Upgrade Kit- HDForums.com
- The Next Performance Upgrade That Will Provide the Best Bang for the Buck - HDForums.com
- Best Performance Bang for the Buck? 103? Supercharger - HDForums.com
- SE-585 Bersus SE-259E - HDForums.com
- 107" Big Bore Kit and Dyno Testing by Fuel Motor - HDForums.com