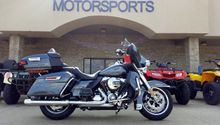
Harley Davidson Touring: Inexpensive Modifications
You can finally modify your Harley Davidson Touring without spending too much money.
This article applies to the Harley Davidson Touring.
Upgrading your Harley Davidson Touring can be rather costly. However, there are a few inexpensive upgrades that can make an impact on your bike, and not your wallet. These simple modifications can make your life a bit easier on the motorcycle. The list below combines a few inexpensive modifications for under $100 each. So if you're ready to add little touches to your Harley, and you want to keep your bank account in the black, read on to learn some of our forum's best inexpensive modifications.
Inexpensive Modifications
#1 Push Button Fuel Door
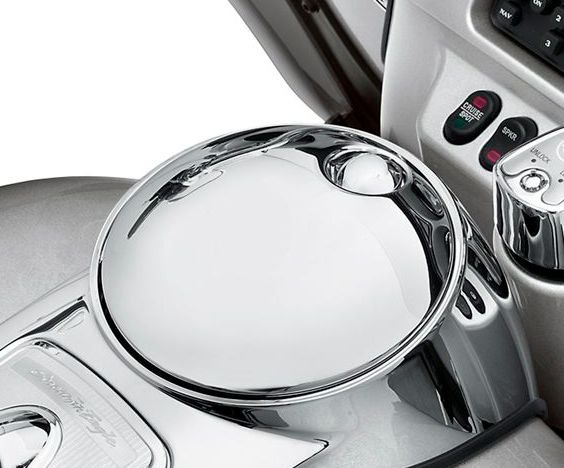
DIY Cost – $30-40
Professional Cost – $100
Skill Level – Moderate. This job requires the removal of the old gas door and installing push button device on it.
This device allows you to be much more efficient at gas stops. You no longer have to put the key into the fuel door, release it, keep the key in it until you can put it back, and finally release the key. This little invention replaces your original hinge, and works with the press of a button. When you pull to the gas station's pump, you simply press the button, and the door releases. A lot of these devices come with the option to lock. So the only difference is you can keep it unlocked, so you don't have to use your key and keep the key in it.
#2 Floorboard Extenders
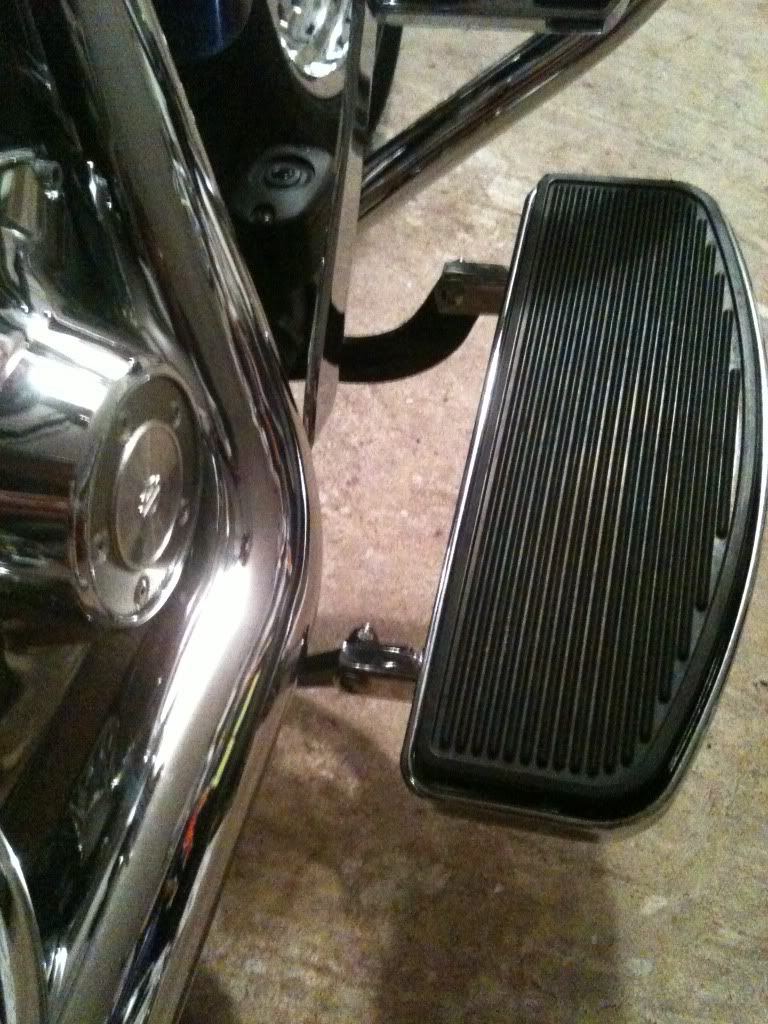
DIY Cost – $50
Professional Cost – $100+
Skill Level – Moderate. This job requires the removal of the original floorboards and installing the new kit in place.
The floorboard extenders allow you to ride more comfortably. These extenders extend the floorboards outwards, allowing your thighs to shift farther from the tank and the rest of the components. This is a good feature to have if you are regularly burning your legs on the exhaust. These can be installed by removing the original floorboards, installing the kit in place, and installing the floorboards in place. They do prevent you from leaning too low. However, with such heavy bike as the Touring, you never need to get that low. If you want to feel more comfortable riding, this mod might be the one for you.
#3 Grips
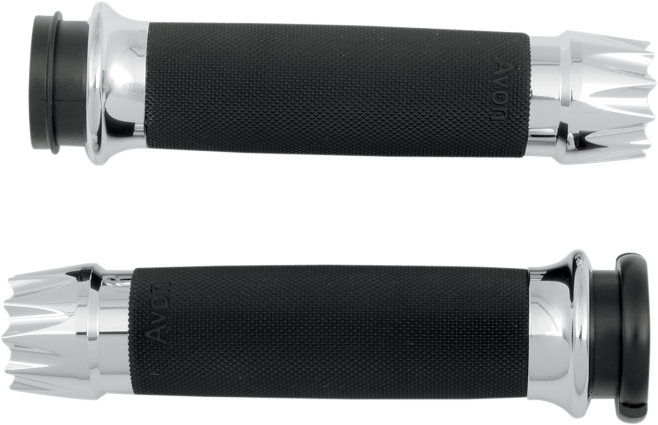
DIY Cost – $60
Professional Cost – $100
Skill Level – Moderate. This job requires the removal of various components.
Replacing the original grips is a great modification because you get to install ones that you feel the most comfortable with. The aftermarket world of grips offer hundreds of designs, shapes, and prices. If you want chrome, you can do that, if you want rubber, that's out there, too, and if you want both, you can even have that. These simple modifications can change the looks of the Touring tremendously, but they can also offer extreme comfort, especially when riding for longer periods of time.
Related Discussions
- Cheapest mods - Hdforums.com
- Cheaper modifications - Hdforums.com