Harley Davidson Touring: How to Change Primary Chain Oil
Your primary chain oil should be replaced at every second or third oil change, but it is easy and cheap enough that you might consider changing it with every oil change.
This article applies to the Harley Davidson Touring (2000-2016).
As easy as it is to change the primary chain oil in your Harley Touring bike, many people still forget to do it. There is no need to take your bike to a professional to do this quick and easy job, and doing it yourself will save you a good deal of cash. The only confusion centers around where to fill the primary oil and how much oil to use. Read on and all questions will be answered in just a few short steps.

Materials Needed
- 32oz primary chain oil (appox.)
- Bike lift, or block for side stand
- Teflon thread tape
- T27 and T40 Torx bits and driver
- Catch container for old oil
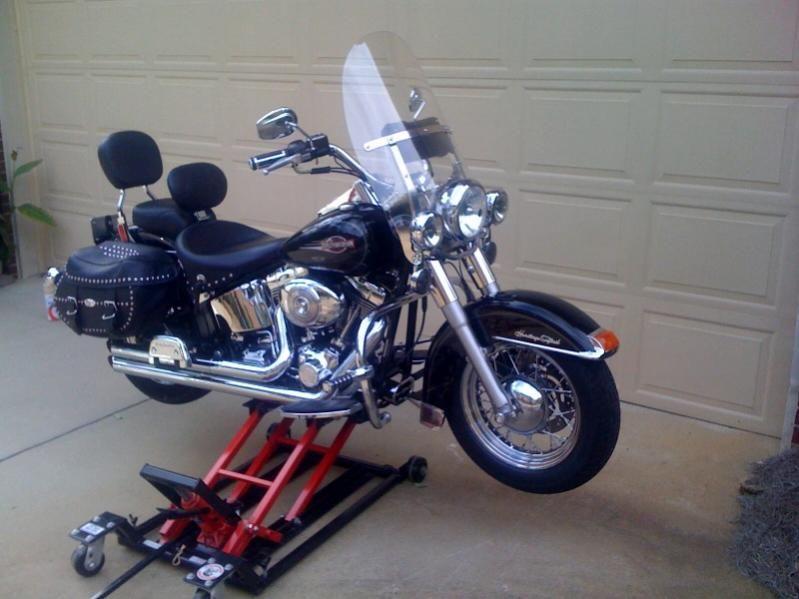
Step 1 – Get your bike level
You need the bike level when you fill the primary, so you can be sure you have the correct amount in it. You can use a bike lift, or you can put a block under the side stand so it only leans slightly. It is much easier to do this before you start, than trying to do this when you need to fill it. However you do it, make sure it doesn't fall on you.
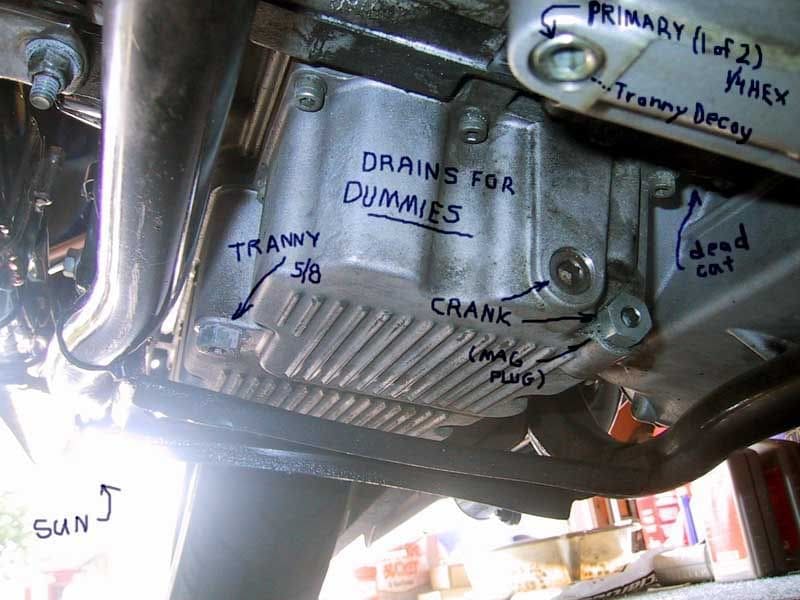
Step 2 – Drain the old primary oil
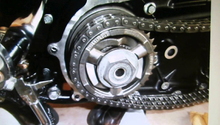
Use a T40 Torx bit (sometimes 1/4" hex) to loosen the primary drain plug that is located on the bottom of the rear end of the primary chain case, just under the Derby cover.
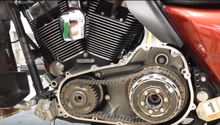
Step 3 – Remove derby cover (or chain inspection window cover)
Depending upon the year and model of your bike, you may not have a primary chain inspection window; if you don't, remove the entire derby cover. Use a T27 bit to remove the five Torx bolts from the derby cover. Pull off the derby cover.
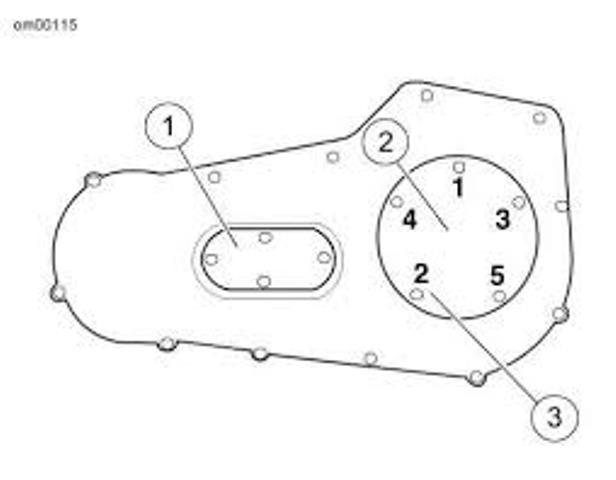
Figure 3. Inspection cover and derby cover. 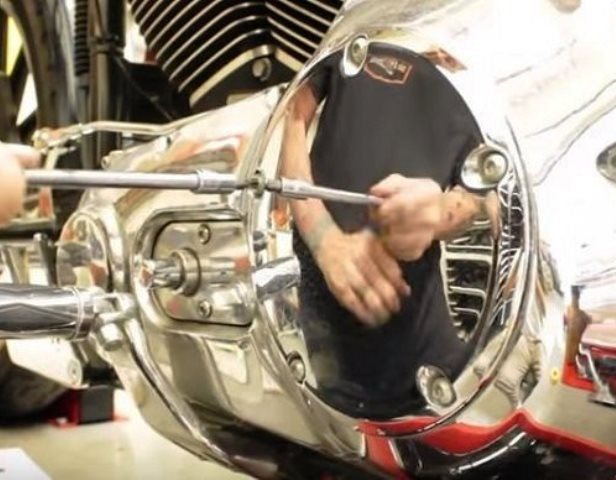
Figure 4. Remove the five T27 Torx bolts to pull off the derby cover.
Step 4 – Clean and inspect primary drain plug
When the primary has finished draining, you'll want to inspect the plug for any debris. The end of the plug is magnetic and will pick up metal shavings as well as debris. If there is excessive metal on it, check the primary chain and clutch plates. If the plug looks good, wipe it clean, wrap the threads with Teflon tape to help maintain a tight seal. Reinstall the drain plug with the Teflon tape, then make sure it is nice and tight.
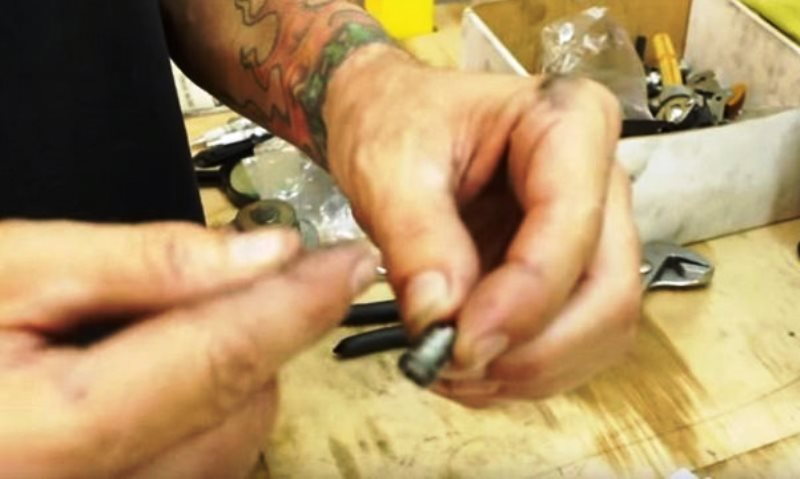
Figure 5. Inspect the primary drain plug for any debris. 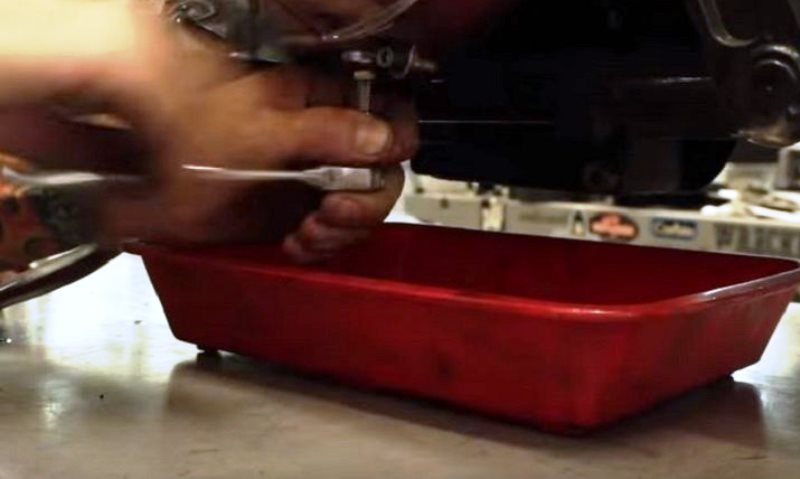
Figure 6. Reinstall the primary drain plug. Make sure it is snugged well, but do not over-tighten.
Step 5 – Refill with new primary oil
Use a long-tipped and narrow funnel to get the oil down into primary through the derby cover or inspection cover. You should only need 32-38oz to sufficiently fill the primary, and any motorcycle specific oil will do. The official recommendation is to fill the primary until the oil is even with the bottom of the clutch.

Figure 7. Green line is edge of derby cover level, red line is proper oil level. 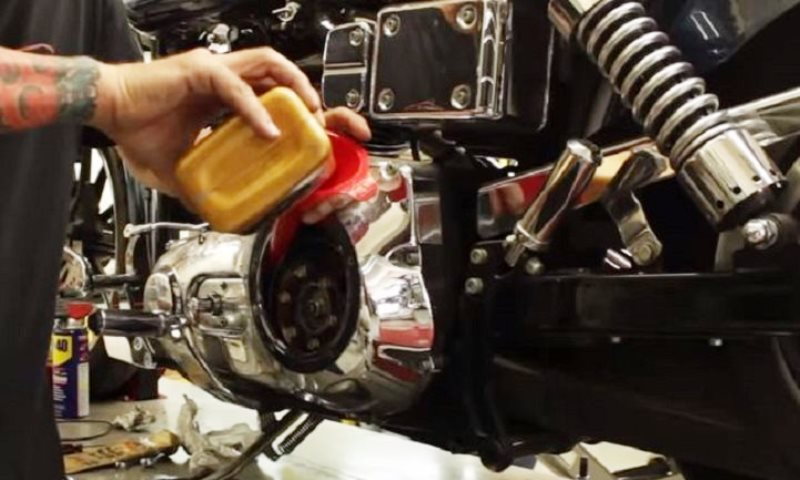
Figure 8. Add about a quart of your favorite motorcycle oil.
Step 6 – Replace the derby cover
There is a gasket between the derby cover itself, and the primary cover that will need to be replaced with a new one. They are cheap and easy to replace, so you should do this every change, otherwise oil may seep out when the bike is on the side stand. Use one of the bolts through the derby plate to make sure that the gasket is lined up properly. Make sure both surfaces are nice and clean, then replace the derby cover, snugging the five T27 bits, but be careful not to over-tighten and crack the chrome or strip those bolts. Use a torque wrench to tighten them to 10-12 foot pounds. Once the cover is back on, get the bike down and take it for a test ride. It is not common, but some oils can cause the clutch to slip, and would need to be changed again immediately.
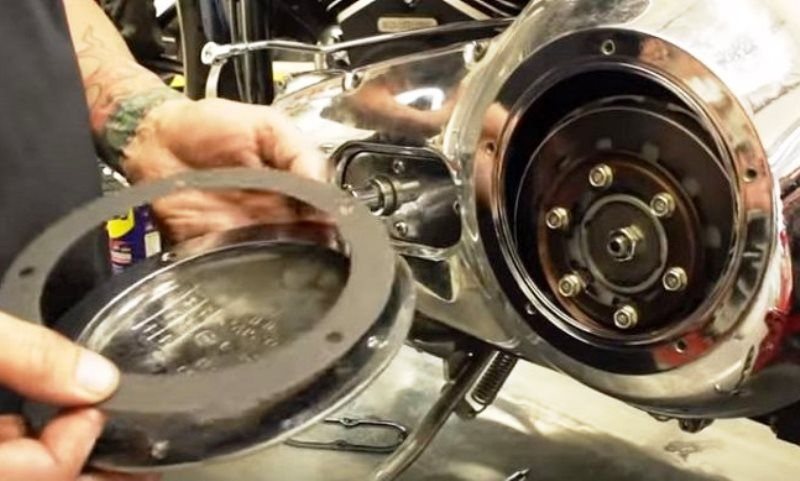
Figure 9. Replace the derby gasket and make sure both mounting surfaces are nice and clean. 
Figure 10. Replace the derby cover and torque the bolts to 10-12 foot pounds.
Featured Video: How to Change Primary Oil
Related Discussions
- Primary Chain Case Oil Change - HDForums.com
- Do's and Don'ts of Primary Oil Change - HDForums.com
- Primary Oil Change Problems - HDForums.com
- Oil Change Procedure - HDForums.com