Harley Davidson Sportster: Suspension Modifications and How to Lower Your Bike
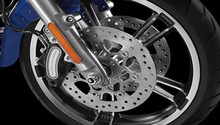
One of the first areas Sportster owners begin to upgrade is the front and rear suspension. With the popularity of the Sportster, a wide selection of suspension components are readily available to alter the handling or ride height to suit the needs of each individual rider.
This article applies to Harley Davidson Sportster (1986-2016).
The Harley Sportster has been in production for the better part of a century, and while it was once considered an entry-level motorcycle, has evolved into a serious bike with performance to boot. Harley Davidson engineers have continued to update and refine various aspects of the bike, but many owners feel the suspension has room for improvement. Sportsters tend to be a bit under-sprung for bigger riders or 2-up use, and suffer from a lack of damping, which can adversely affect handling and ride comfort. Fortunately, the market is filled with plenty of aftermarket suspension upgrades that can transform the ride quality and stance of your bike. This article will outline various suspension modifications available for Harley Sportster models, as well as provide an overview of how to lower your bike.
Table of Contents
Suspension Modifications
There are various suspension offerings for the Sportster, including fork spring and cartridge kits, replacement shock absorbers, as well as rear lowering blocks. Additionally, many suspension manufacturers offer complete kits that are bundled with all necessary components needed to modify the front and rear suspension of your bike. Generally, suspension components are offered in various levels or stages, with the more costly options having more adjustments than entry level upgrades. The best bet is to set your budget and evaluate your needs as a rider when shopping for suspension upgrades.
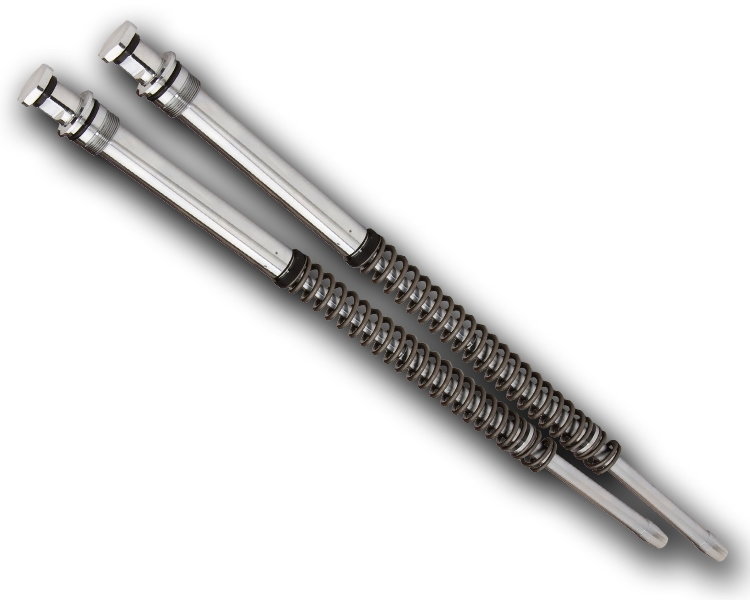
Fork Spring Kit

DIY Cost – $85-135
Professional Cost – $200+
Skill Level – Easy, can be quickly installed at home without the need of any special tools.
A "Drop-In" fork spring lowering kit is a quick and easy way to lower the front end of your bike. Often consisting of a spacer, compensator spring, and main spring, various suspension companies offer lowering spring kits that are simply installed by just removing the old fork springs and dropping the new components into the fork tube. Most kits typically lower the front end of the motorcycle one to two inches. Some individuals argue that the ride quality is lost by installing a fork spring kit; however, changing the length of the spacer as well as varying fork oil viscosities can help dial in the ride to taste. Spring kits are relatively affordable and can quickly and easily be swapped out if you end up preferring the stock setup. Overall, this is a popular option for individuals looking to lower their bike on a budget.
In addition to lowering kits, suspension manufacturers also offer progressive spring kits that alter spring rates to provide a softer ride upon initial fork compression, but progressively stiffen the more the fork travels. These spring kits allow for a supple ride when cruising while still providing adequate support during hard braking and cornering. You can also get stiffer springs for more aggressive riding or heavier riders.
Fork Damping Rod Cartridge Kit
DIY Cost – $250+
Professional Cost – $450+
Skill Level – Moderate; requires removal and replacement of fork internals.
A cut above a traditional spring replacement kit is a complete fork damping rod cartridge kit. In short, these upgrade kits remove the stock fork internals in favor of new gas-charged damper rods matched to a set of improved fork springs. Additionally, many kits offer adjustable valve cartridge emulators that control the motion of the fork by altering compression damping, thus greatly improving ride quality and performance. Additionally, companies such as Traxxion Dynamics take things a step further with their kit that converts your forks from a damping rod style fork to a pricey cartridge style fork with external damping adjusters. Most agree that a fork cartridge kit is the best bang for your buck regarding front fork upgrades.
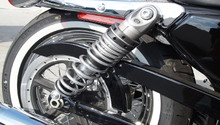
Upgraded Shocks

DIY Cost – $200-1,500
Professional Cost – $400+
Skill Level – Easy; shocks can be quickly and easily replaced using basic tools.
Perhaps the first modification that many individuals make to their Sportsters is an upgraded set of shocks. The factory shocks are well rounded units that work in a variety of riding conditions, but they are not particularly great in any one area and often leave owners wanting. The marketplace is filled with a variety of quality shock absorbers that range from simple lowering units to full-blown adjustable racing shocks and everything in-between. Swapping out a set of shocks is a straightforward job that can be quickly accomplished from the comfort of your garage. For additional information on various types of shocks for the Sportster, refer to The Ultimate Shock Guide.
Lowering Blocks (Rear)

DIY Cost – $50-75
Professional Cost – $150+
Skill Level – Easy; can be installed with basic tools.
Another simple modification short of replacing the rear shocks is a rear lowering block kit. These kits simply mount to the swing arm and vary the angle in which the rear shocks operate. Many kits offer several different mounting positions for the bottom of the shock to adjust the ride height between one to three inches lower than stock. A trade-off of lowering the rear of the bike with a block kit is a harsher ride quality because the pitch of the shock increases, causing less of the road forces to be directly transmitted to the shocks. That being said, lowering blocks are the most cost-effective way of lowering the rear of your bike. While a block kit can be a permanent modification, some individuals use lowering block kits to test out various ride heights and make sure they like the lowered stance before investing in a set of lowering shocks.
How to Lower Your Bike
Lowering your bike is a quick and easy process that can be completed in your garage. The Sportster uses a conventional damping rod fork that allows the fork springs to be removed without removing the forks from the bike. Similarly, the installation of rear lowering blocks or a new set of shocks is as simple as unbolting the old units and installing the new components. If your are looking to modify the ride height and stance of your Sportster, the steps outlined below may aid in the installation of your lowering kit(s).

Materials Needed
- 3/8" drive ratchet
- T50 Torx or 3/4" socket
- T45 Torx socket
- 3/4" combination wrench
- 1/2" drive breaker bar
- 1 3/8" socket
- American Allen wrench set
- Torque wrench
- Medium strength Threadlocker (blue)
- Motorcycle frame jack
Warning
Lowering the bike will reduce your ground clearance in corners. Be careful on the first few rides afterwards, as you may drag mufflers, exhaust pipes, kickstand and other hard bits.
Fork Spring Kit Install
- Lift and support the motorcycle to un-weight the front forks.
- If necessary, remove the handlebars to allow access to the fork caps. If removing the bars, a soft towel can be placed over the tank and the bars laid onto the tank. This will prevent you from having to disconnect any controls (brake, clutch, throttle, etc).
- Loosen the pinch bolts on the upper triple clamp.
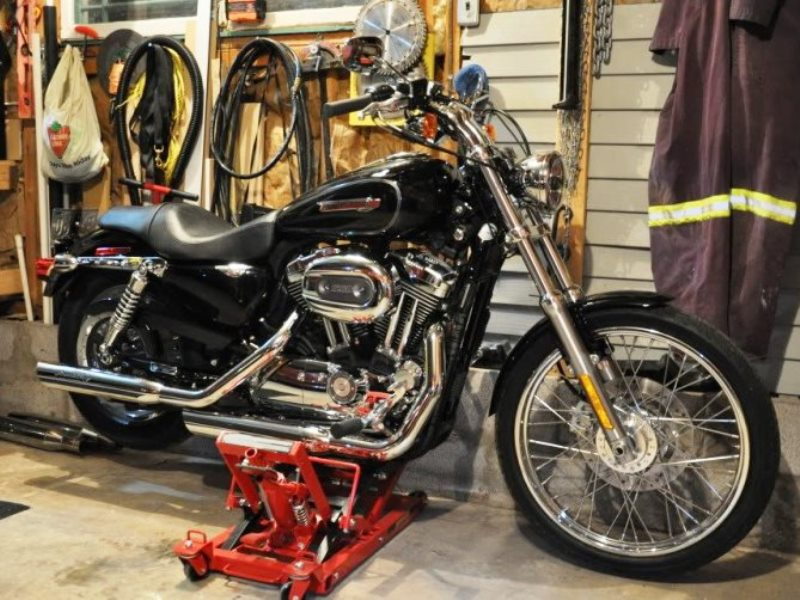
Figure 2. Lifting bike to un-weight suspension. 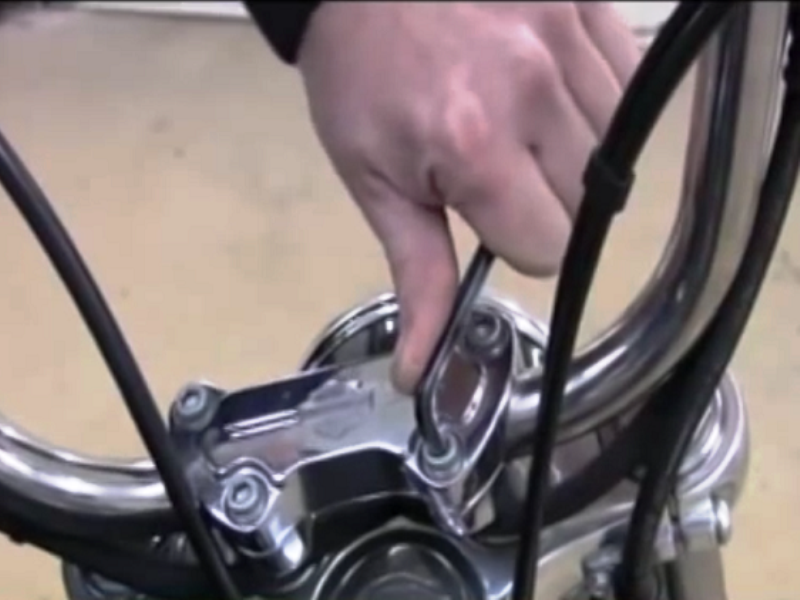
Figure 3. Removing handlebars for fork cap access. 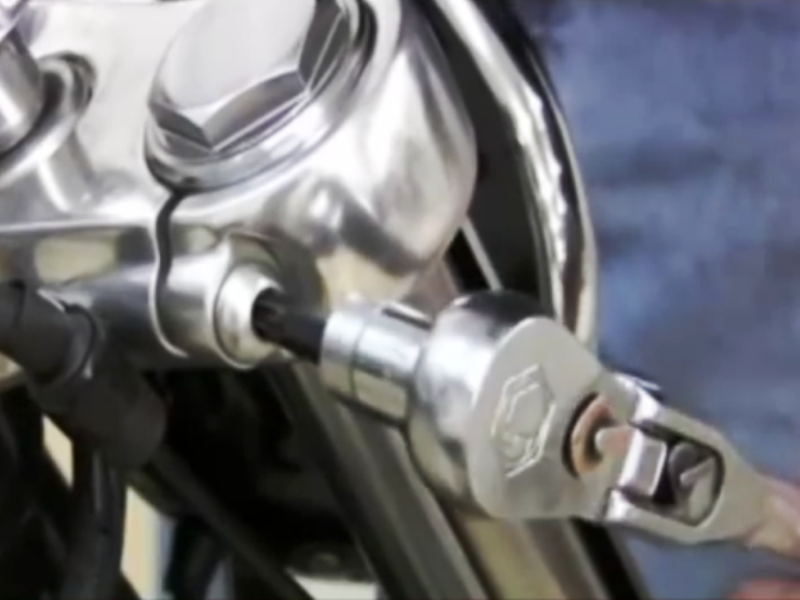
Figure 4. Upper triple clamp pinch bolt.
- Using a breaker bar and a 1 3/8" socket, remove the fork cap. Be careful when removing the cap, as the fork spring is under tension and the cap can shoot off.
- With the fork cap removed, slide the spacer and fork spring out of the fork and set aside.
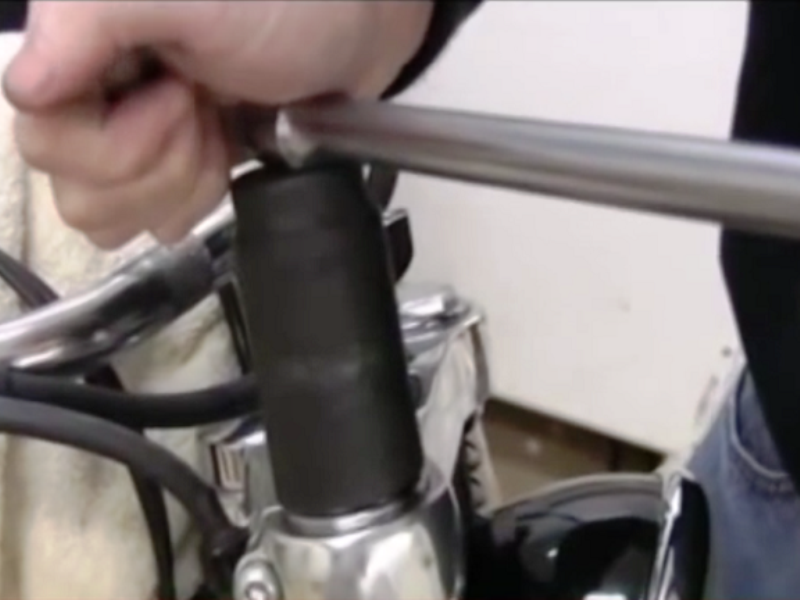
Figure 5. Loosening fork cap. 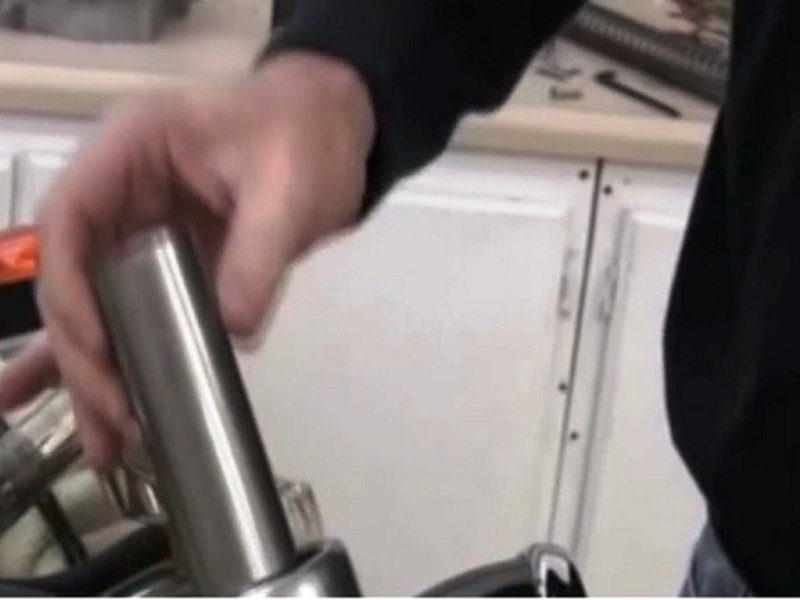
Figure 6. Removing stock spacer. 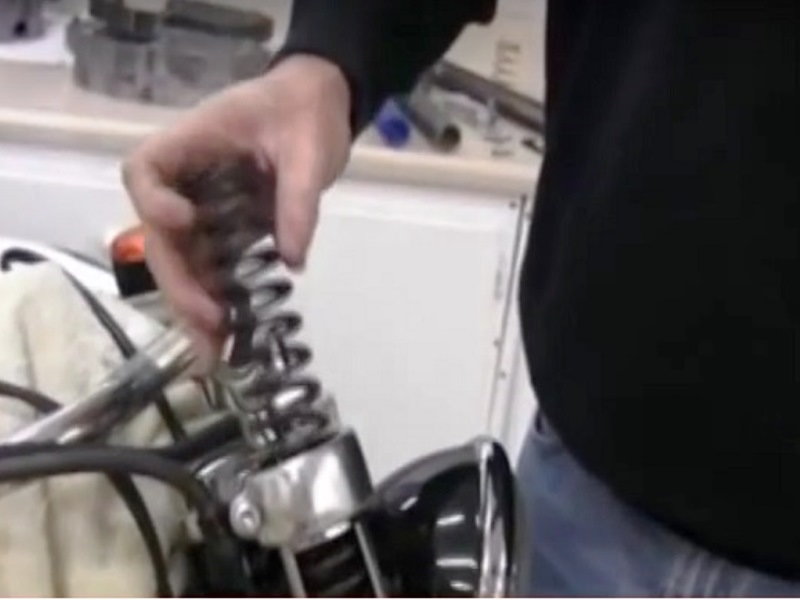
Figure 7. Removing stock spring from fork tube.
- Place your new fork spring(s) and pre-load spacer into the fork tube before re-installing the fork cap. Torque the fork cap to 22 to 29 ft/lbs. Repeat procedure for other fork.
- With your new spring kit installed in both forks, tighten the triple clamp pinch bolts to 27 to 32 ft/lbs.
- Re-install the handlebars and tighten the clamp bolts to 12 to 18 ft/lbs.
- Lower bike off of lift.
Note
Depending on the type of fork spring kit being installed, adjustment of the fork oil level may be necessary. Refer to the manufacturer's instructions for more details.
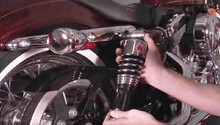
Lowering Block Kit Install
For the installation procedure of a set of lowering shocks, see the related article The Ultimate Shock Guide.
- Lift and support the motorcycle to un-weight the rear suspension
- Using a T50 Torx socket or 3/4" socket (depending on year model), loosen the upper shock mount bolt. Similarly, using a pair of 3/4" wrenches, remove the lower shock mount bolt and washers.
- Using the supplied bolts and washers from the lowering block kit, attach the lowering block to the swing arm boss. Be sure to use blue Threadlocker on the mounting bolt.
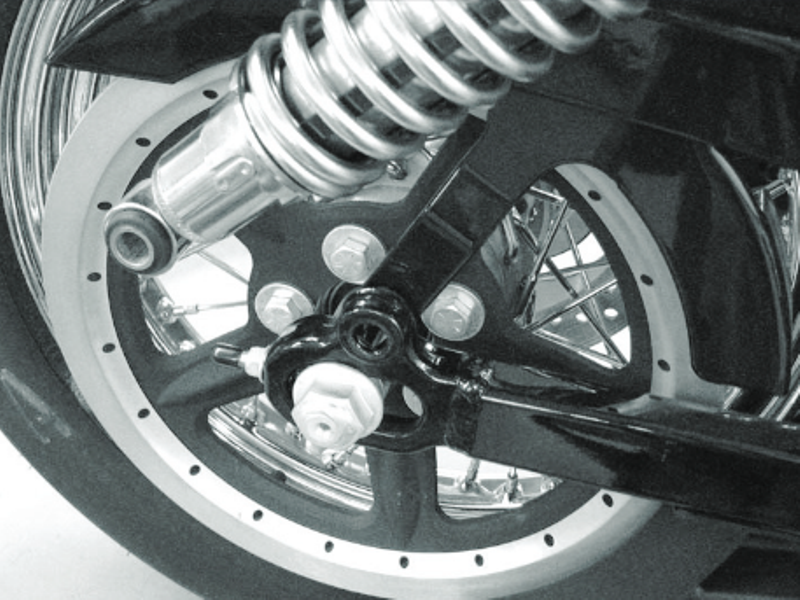
Figure 8. Lower shock bolt removed and shock rotated rearward. 
Figure 9. Lowering block attached to swing arm.
- Slightly lower the jack and align the lower shock mount to the desired lowering block mount hole. Apply blue Threadlocker to the mounting bolt before installing.
- Repeat procedure on other side before torquing the shock mount bolts to 45 to 50 ft/lbs.
- Adjust shock pre-load as necessary (some shocks use a ramped collar, and some have threaded rings).
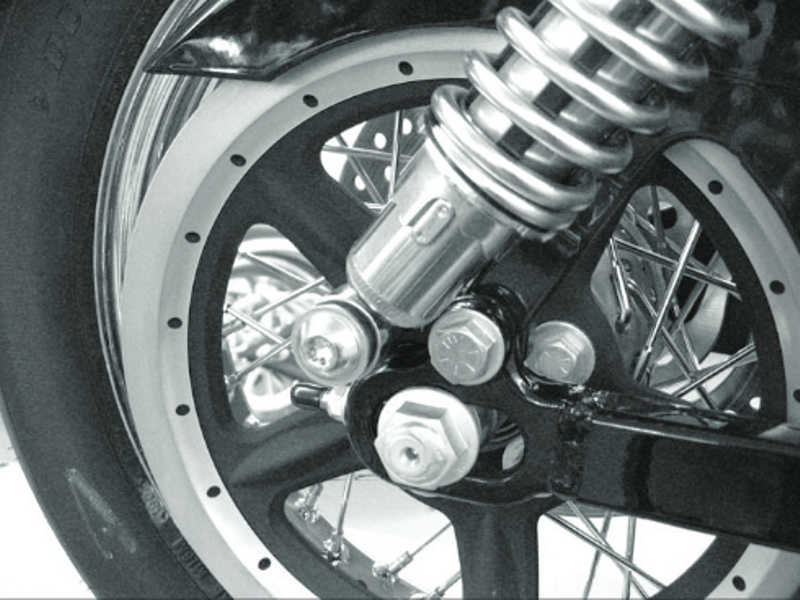
Figure 10. Shock attached to lowering block. 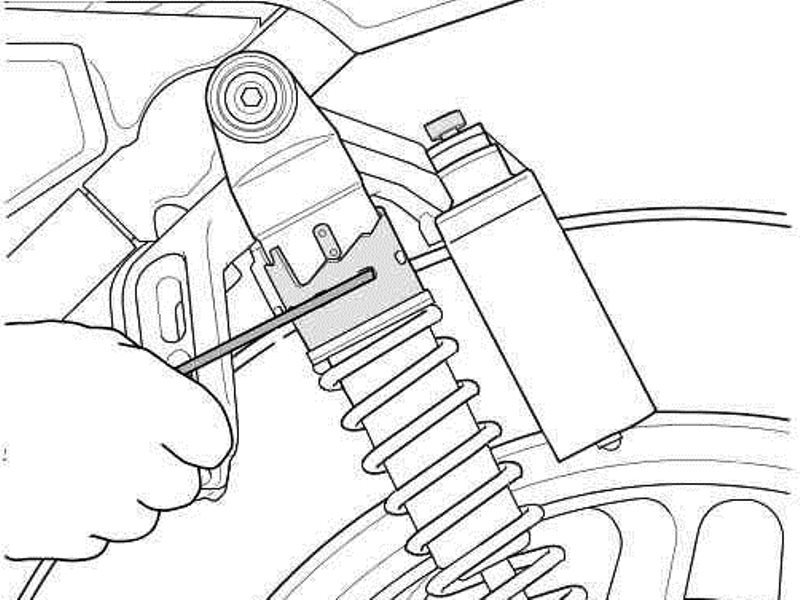
Figure 11. Adjusting shock pre-load.
Related Discussions
- Shocks or Fork upgrade...Ideas to improve my ride- HDForums.com
- Lowering the 1200 Sportster - HDForums.com
- Progressive Suspension for Sportster - HDForums.com