Harley Davidson Sportster: How to Adjust Idle Speed
Why pay a wrench to adjust your bike's idle when you can do it in a matter of seconds with nothing but a Phillips head screwdriver?
This article applies to the Harley Davidson Sportster (1986-2015).
The idle speed is more than just a number: Harley V-Twins need to idle at the correct speed to make shifting into neutral easier to ensure you get engine braking when you shut the throttle and to get enough oil supply up to the rockers as well as valve gear. Evo Motors should idle at a minimum of 700 rpm and Twin Cams at 900 rpm—they sound great idling at lower revs than this, but it can cause premature wear on your valve train. This article does NOT cover idle mixture—that is something else—we are just looking at simple idle speed adjustment here.
Don't forget to click the links at the end to interact with the H-D forum guys who have years of accumulated knowledge to share with you.

Material Needed
- Phillips head screwdriver (a really long one or one with a slim handle is best)
Step 1 – Warm the motor up!
Always adjust your idle speed with the motor at full operating temperature; that means it has been for a ride of at least 10 minutes. The true idle speed is not apparent until the motor is fully warmed up and the choke (enrichener) is completely off.
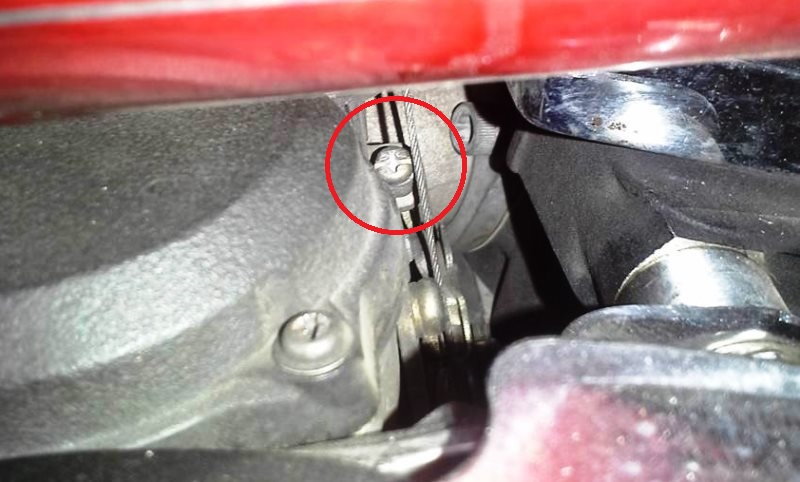
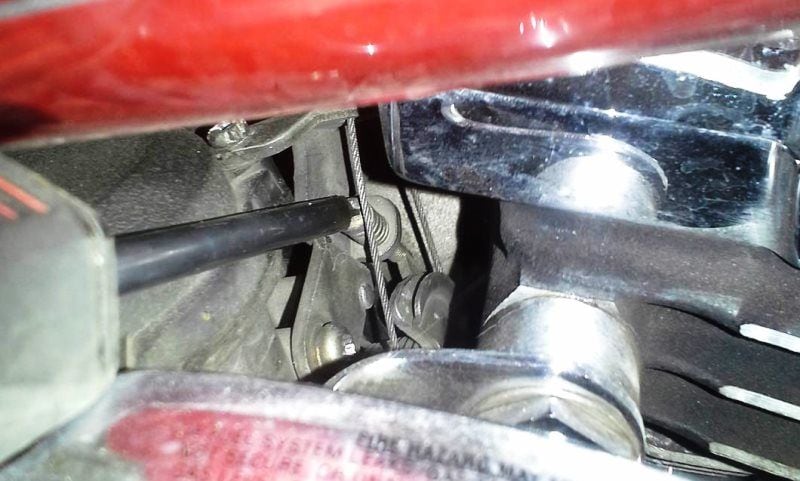
Step 2 – Find the idle speed adjuster screw
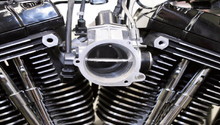
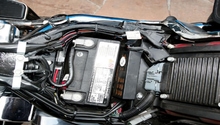
The idle speed adjuster screw is on the right-hand side of the carburetor, at the top of the throttle cable quadrant and just to the left of the cable as it runs out of the cable bracket down to the quadrant. It has a spring around the threads to stop it from coming undone. Depending on how your bike is configured, you may need to remove the gas tank or the air cleaner cover to access the screw.
Pro Tip
Practice getting the screwdriver onto the screw without the motor running, since the motor vibrates and if it's rubber mounted, it will jump around making getting in the screw a bit of a challenge. You can also adjust the screw 1/4 of a turn at a time with the motor switched off and restart the motor to see where the idle speed is at.
Step 3 – Adjust the idle speed
Turn the screw clockwise to increase idle speed and counterclockwise to decrease it. Your tachometer will give you the idle speed, but if your bike isn't fitted with one, then play it by ear; if you go too low, the bike will either cut out or stumble when you twist the throttle, while too high and it will sound wrong. A properly idling Harley will go "potato, potato, potato."
Pro Tip
Each time you make an adjustment, it is best to rev the bike a couple of times and let the idle settle. This will clear the manifold of un-burnt fuel and give you the correct idle for that adjustment.
Step 4 – EFI bikes
Most riders really dislike the 1,000 to 1,100 rpm idle speed on the later fuel injected (EFI) bikes. This cannot be altered, as it is set by the factory and electronically controlled, but there are two ways of getting round this.
- Have the ECU module remapped for a lower speed, but this is expensive and not everybody can do it.
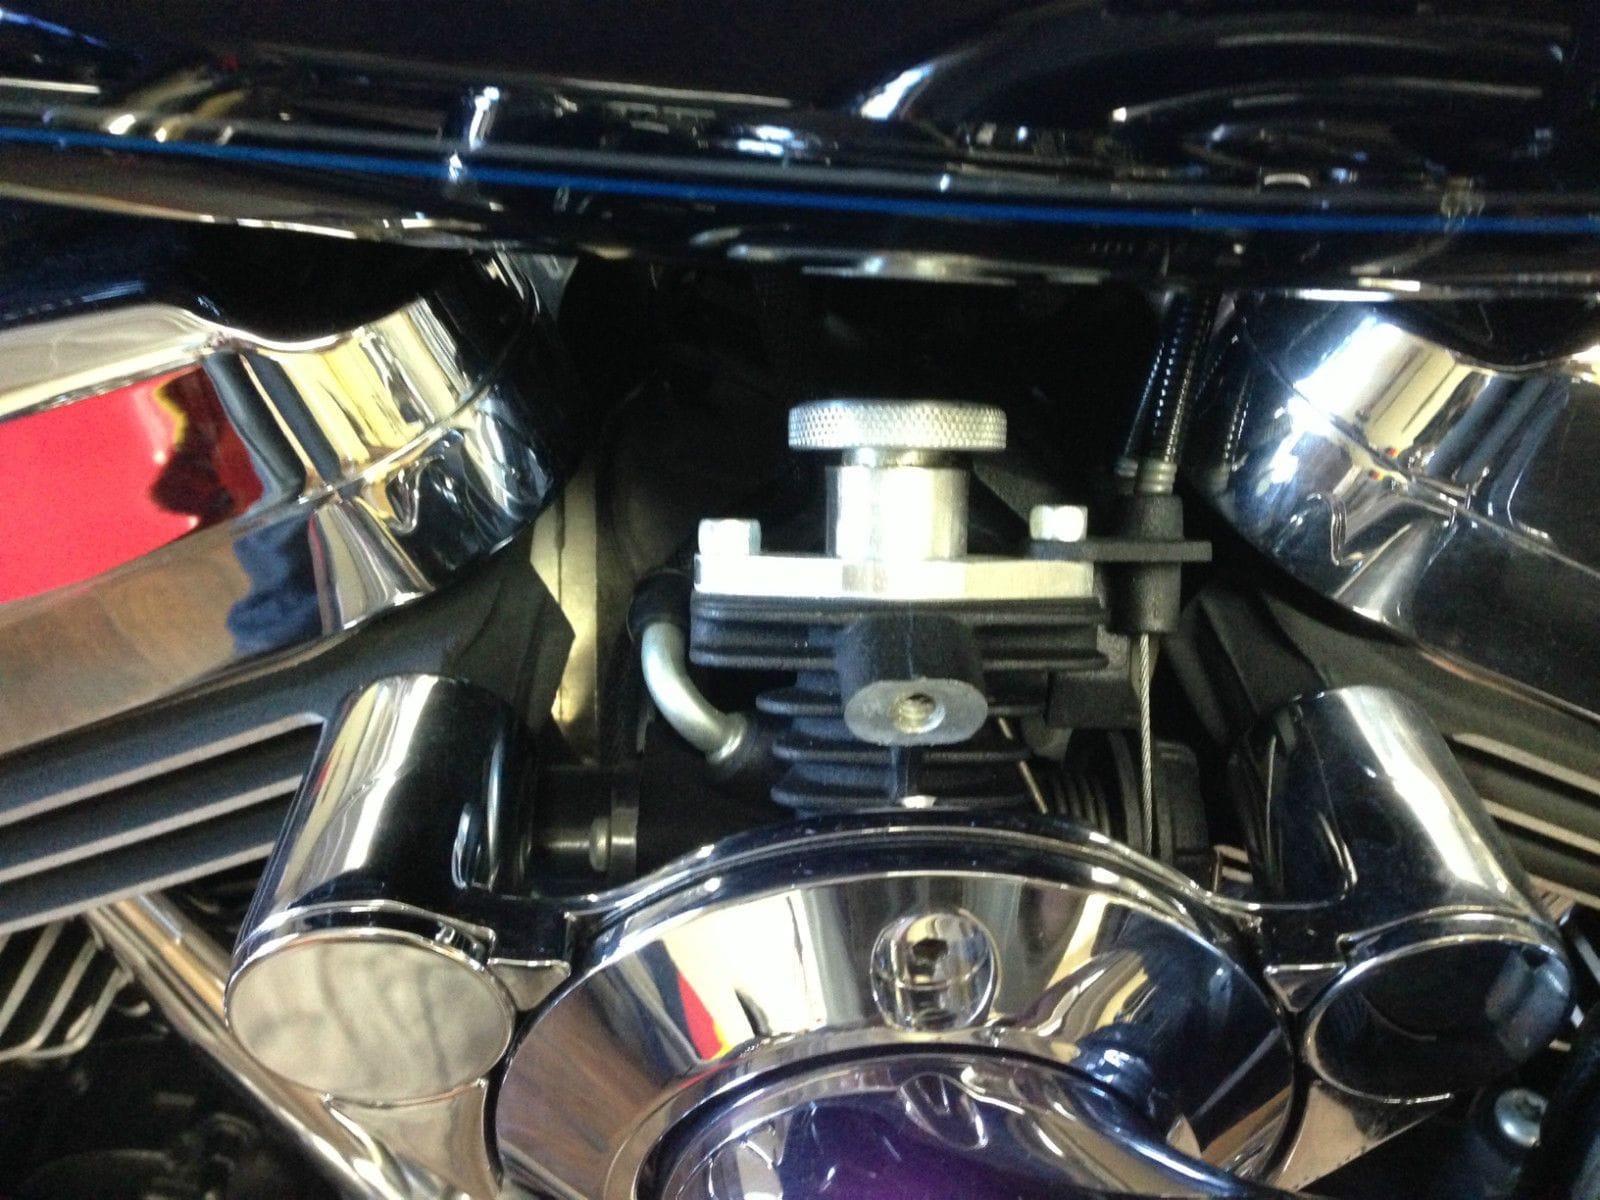
- Fit a manual idle control system. These cost around $128 and are pretty easy to fit, allowing idle adjustments with a thumb turn wheel. You can get them from American Motors (link under Related Discussions, Video and Site)
Pro Tip
Make sure you buy the correct manual idle adjuster for your bike!
Related Discussions, Video and Site
- 883 Idle Speed - HDForums.com
- Idle Adjustment - HDForums.com
- EFI Manual Idle Adjuster - YouTube.com
- Manual EFI Idle Adjuster - American-Motors-USA.com