Harley Davidson Softail: Engine Performance Diagnostic Guide
Maintaining like new engine performance can be hard to do as the miles accumulate. Sometimes regular maintenance is not enough, and a more in depth look is needed.
This article applies to the Harley Davidson Softail (All Years).
Your engine must receive spark, fuel, and enough air to compress it. These actions must take place at the right time for engine performance to remain correct. Successfully diagnosing engine performance problems requires two main factors: the knowledge of the systems involved, as well as what is and is not a properly working system. To find these out, you need the factory specifications and the proper equipment. With these, you can gauge, measure and narrow down any problems.

Materials Needed
- Flashlight
- Spark tester
- Starting fluid
- Multimeter
- Noid light
- Fuel system pressure tester
- Vacuum pump
- Basic metric and standard socket set with extension and ratchet
- Rags
- Rubber gloves
- Safety glasses
- Automotive stethoscope (optional)
Checking for trouble codes should be the first step of your diagnosis. Verifying that the battery has correct battery voltage is important, as well. For help with electrical problems and diagnostic trouble codes, refer to the articles Electrical Diagnostic Guide and How to Read Diagnostic Trouble Codes for the Harley Davidson Softail.
Step 1 – Perform a visual inspection
Grab a flashlight and look around, on top, and under the engine/transmission. Remove any covers that are easily accessed. This preliminary inspection may reveal an easy to spot wiring problem or disconnected vacuum line. Note any fluid leaks and check the fluid levels. Fluid leaking onto rubber parts and wiring will corrode connections, creating worse leaks. Make sure the spark plug wires are tight on the spark plugs. If you find the engine will not start but cranks, spray some starter fluid into the air cleaner during cranking. If the engine now starts, you can be sure there is a problem with the fuel system. Listen for the fuel pump to prime when the ignition is switched to on. No noise indicates a bad fuel pump or fuel pump wiring. Check the relays and fuses associated with the fuel pump first.
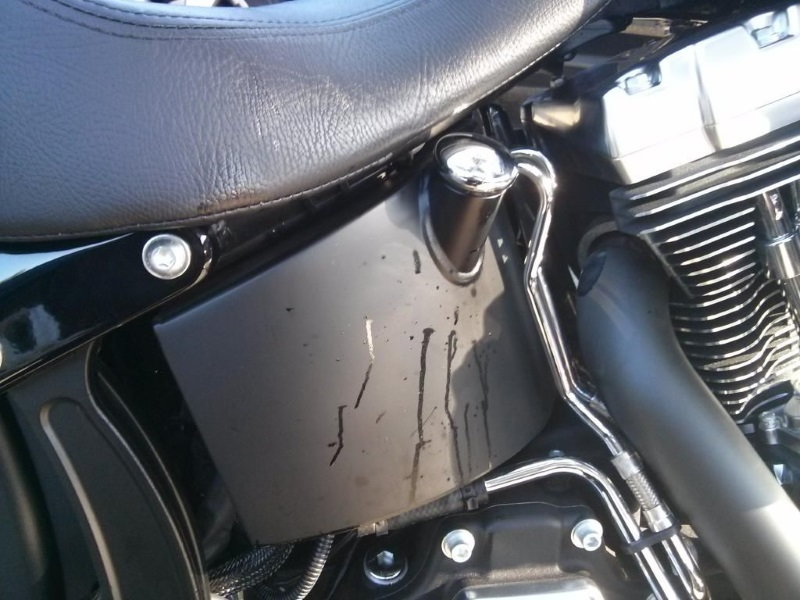
Figure 1. Look for signs of an oil leak. 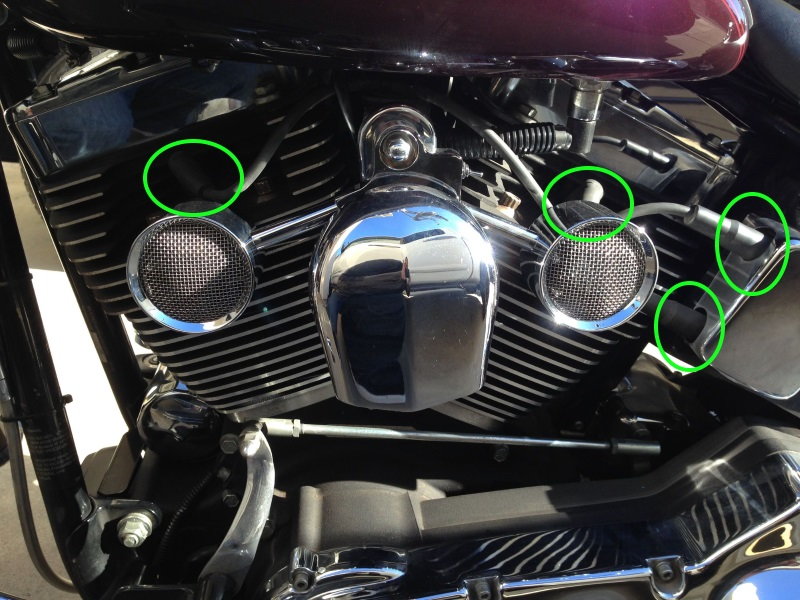
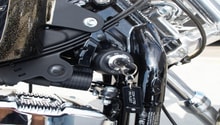
Figure 2. Check the spark pug wire connections at the spark plugs and ignition coil. 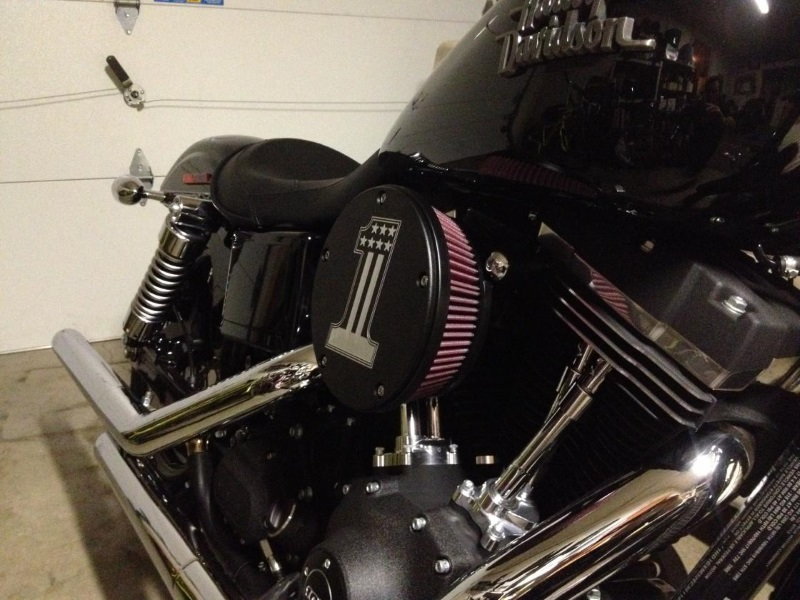
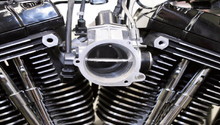
Figure 3. Spray some starting fluid into the air cleaner.
Step 2 – Test the ignition system
Remove the spark plug wires from the spark plugs and insert a high energy ignition system tester into the spark plug wire. The wires pull off the plugs and coil with some force. Clamp the tester onto an unpainted surface on the engine block and crank the engine. If no spark is present, inspect the coil wires and ignition coil. You can measure the spark plug wires resistance with an ohm meter. Remove the wires and connect one lead to each end of the wire. A reading of O.L. or open indicates a bad wire.
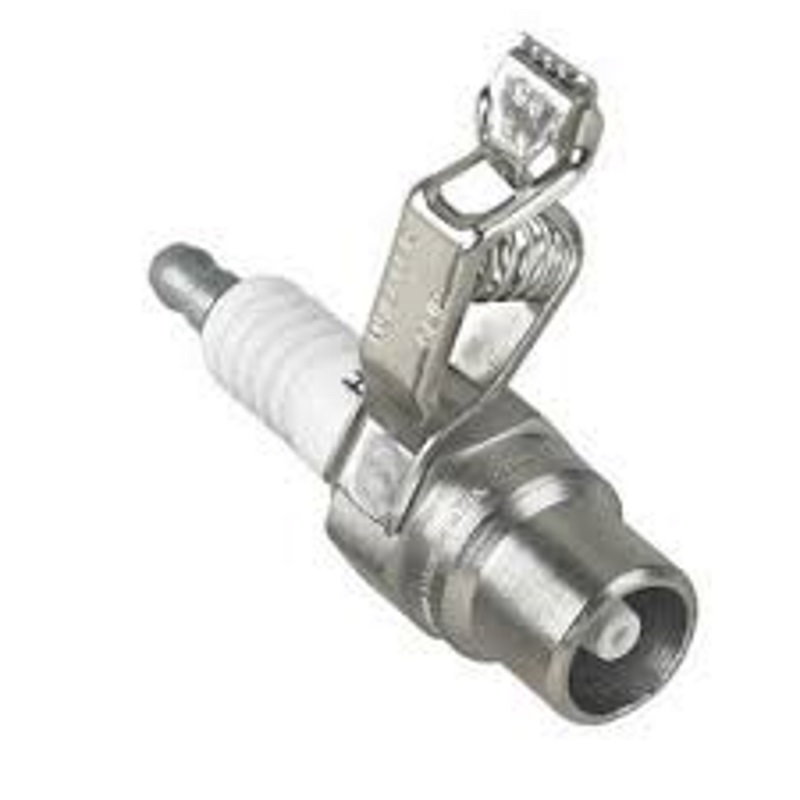
Even if spark is present, there may still be a problem with the spark plugs. Inspect the visible portion of the spark plugs for cracks, especially on the ceramic insulator. Refer to the article How to Replace Spark Plugs for the Softail. Inspect the spark plug tip's condition. This will tell you about the air/fuel ratio inside the engine.

Step 3 – Test the fuel system
Warning
The fuel system may still be under pressure, so wear safety glasses to avoid getting spray in your eyes. Rubber gloves are recommended to keep fuel from irritating your skin.
Begin by testing the fuel system pressure. This test will only work for Softails with electronic fuel injection. You'll need special fittings to connect to the fuel system.
Testing the pump
- Remove the fuel pump fuse.
- Start or crank the engine. If the engine will not start, crank the engine for about five seconds. If the engine will start, leave the engine running until it stalls on its own. You've now removed pressure from the system.
- Remove the fuel feed line from the tank and throttle body. The line uses a quick disconnect style fitting, which is released by pulling the collar down to unlock it and pulling the line away from the fuel tank/throttle body. Have some rags around the line to catch any fuel and wear rubber gloves/safety glasses!
- Install the fuel pressure tester and crank the engine. Fuel pressure should reach 20 PSI. If the engine starts, increase the RPMs to 2,500. Fuel pressure should be between 55 to 62 PSI. A lower fuel pressure indicates a weak fuel pump or a problem with the fuel pressure regulator. It may also indicate a clogged fuel filter. Change the fuel filter every 25,000 miles.
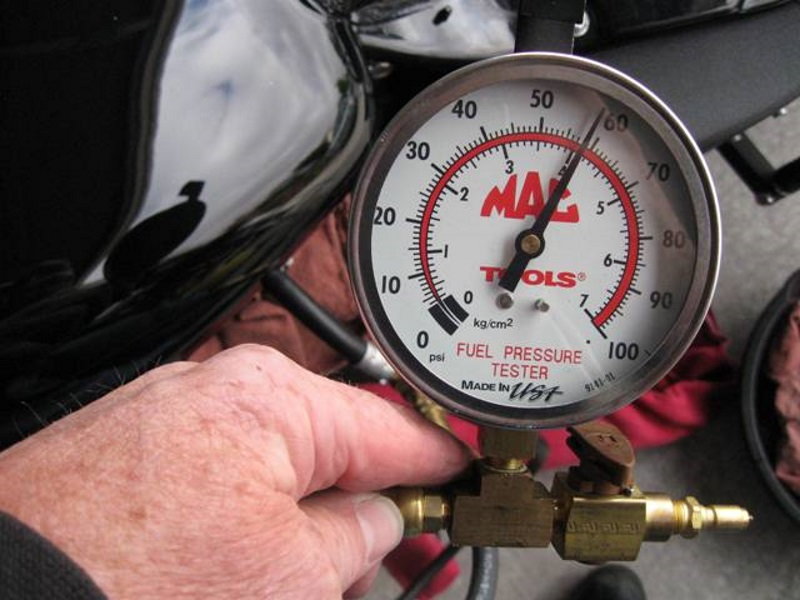
Figure 6. Testing fuel pressure. 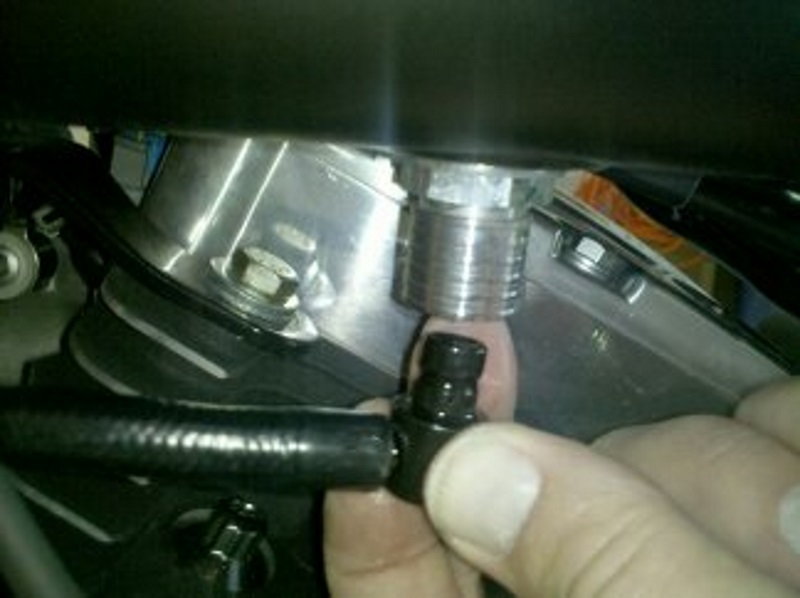
Figure 7. Removing the fuel line from the fuel tank.
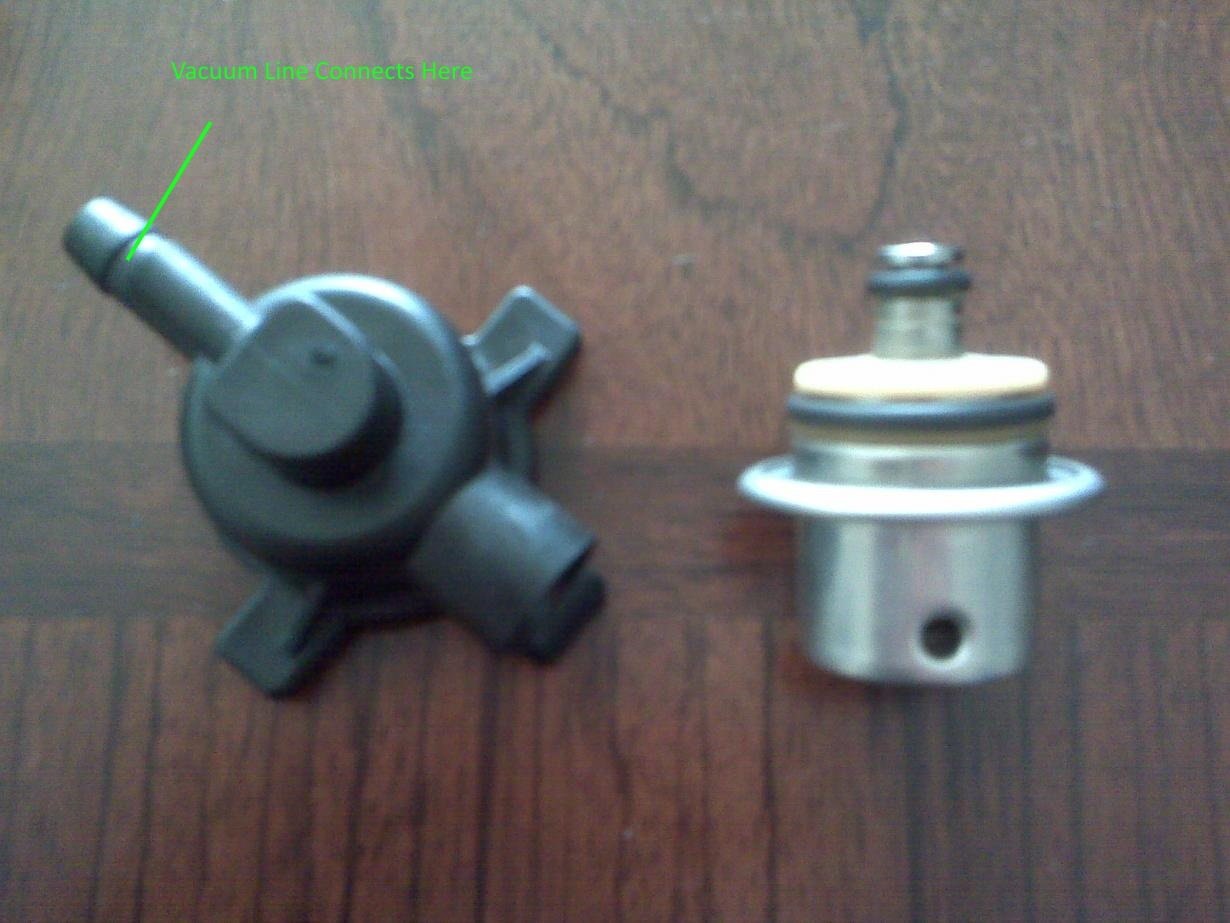
Testing the regulator
The fuel pressure regulator has two inlets and one outlet. One inlet supplies intake vacuum to the regulator to increase fuel pressure as RPMs rise. The other two are connected to the fuel rail and fuel tank. The regulator uses an internal diaphragm that is sealed to keep the fuel and air separate. Two O-rings are used to keep the regulator sealed and leak-free. A leak at these O-rings will reduce fuel pressure, so carefully inspect these parts. The regulator body is plastic. Looks for cracks on the body, as these will introduce air into the system. While you still have your fuel pressure gauge installed, remove the vacuum line connected to the regulator from the intake manifold. Connect a vacuum pump to the line and start the engine. The engine will run poorly with the newly formed vacuum leak, but this is necessary to diagnose the regulator. Monitor the gauge pressure as you apply vacuum to the regulator. Fuel pressure should decrease as vacuum is applied.
Testing the injectors
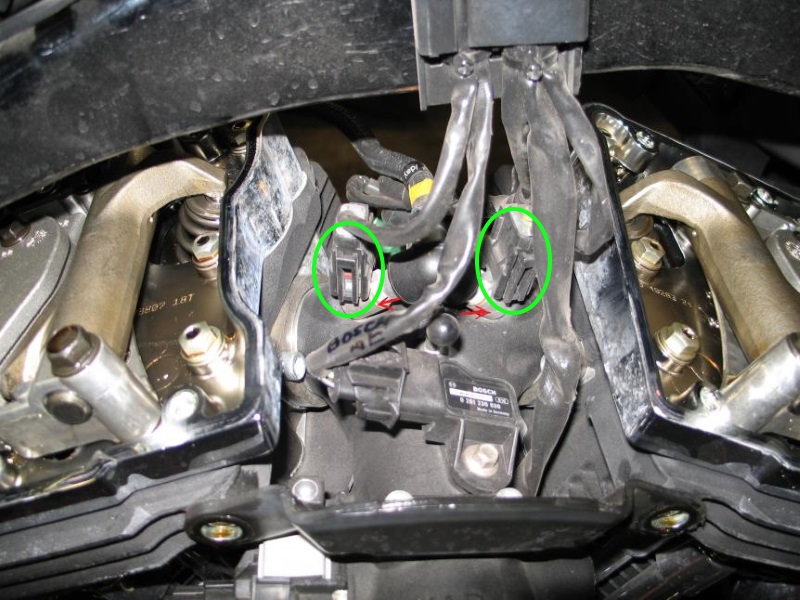
You'll need to test the fuel injectors if the pump and regulator test okay. One easy way to test the fuel injectors' electrical circuit is with an injector noid light. This light flashes as the injector is commanded to open by the engine computer. No flash indicates power and/or ground are not present at the injector.
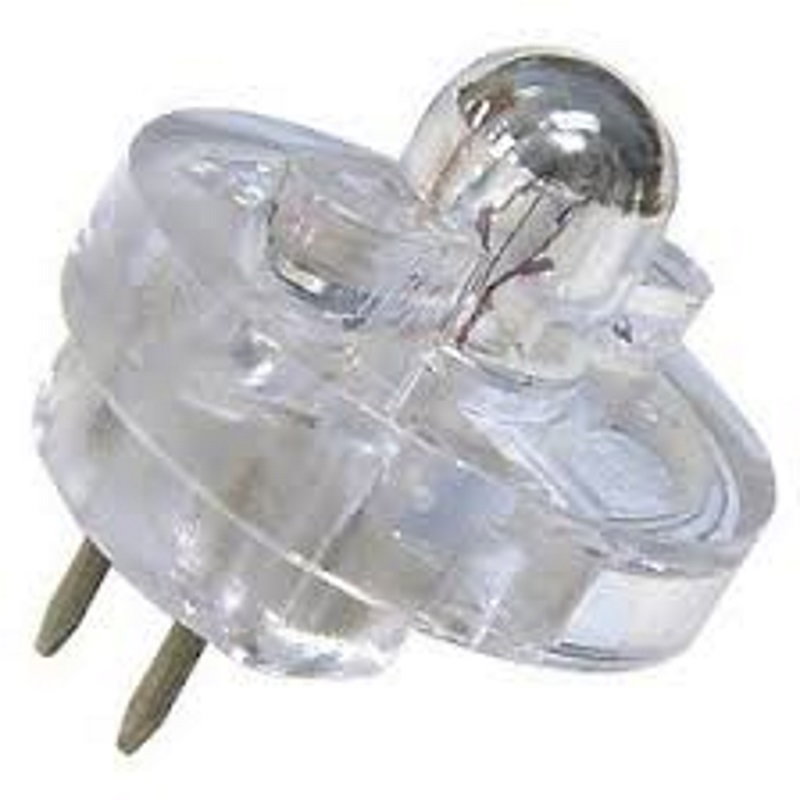
Unplug the fuel injector wiring connector and install the noid light. Start the engine and watch for the flashes. Repeat the test for each injector. Even if the injectors are electrically operating normally, the injector may be stuck open or closed. This occurs when low quality fuel is used or a fuel filter change is neglected. Using your hand or, even better, an automotive stethoscope, listen/feel for the click of the injector as it opens and closes. You can also "ohm out" the injectors using an ohm meter. Place one lead on each injector metal prong that slides into the electrical connector. A reading of O.L. or open confirms the injector is bad.
Related Discussions and Site
- Checking Primary Chain and Adjustment - HDForums.ocm
- This Looks Expensive - HDForums.com
- Fuel Pressure Testing Kit - BikerRogue.com