
Custom Stereo Installation, tips, tricks, how-to, 2007 Streetglide
#1
 04-09-2009, 02:16 PM


Join Date: Feb 2008
Location:
Posts: 802
Likes: 0
Received 0 Likes
on
0 Posts
Over the next few days, I will be working on and completing this thread... i will update the first and second post as i go along, so it may seem, some what incomplete until i am done... i will try to put every thing in the beginning so that you dont have to thumb through many pages to find info, i will answer specific questions as i can, so please be patient, i hope you find the info (just that), informative...
I still have my 2008 and will be doing some major upgrades, coming up soon, so stay tuned for that also...
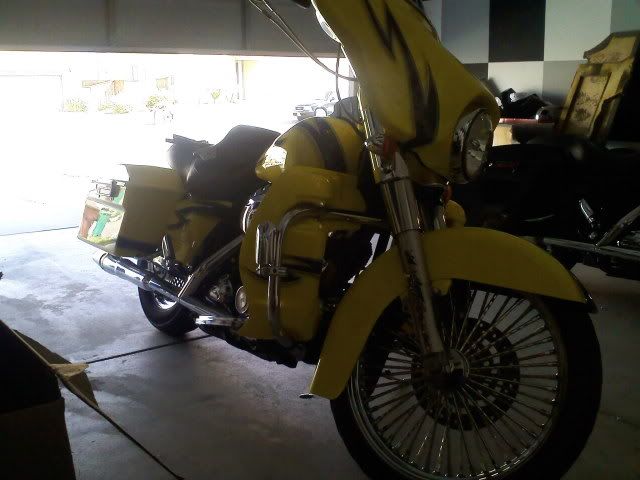
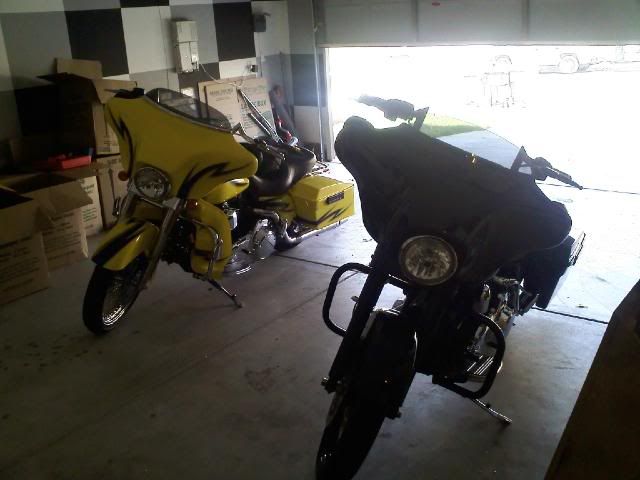
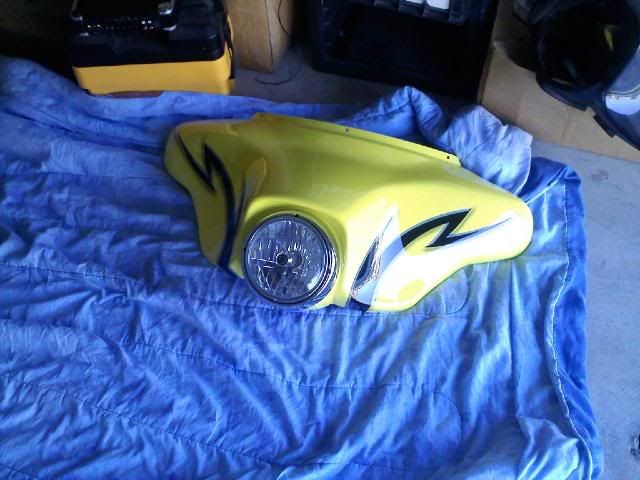
the bike in question is a 2007 streetglide, as I have explained in another thread, I didnt get paid to do the install, so i figured i would post most of it and explain things as i go along, so that someone gets something out of it... lets start with a pict of the bike...
i need to upload a ton of picts to photobucket, so again, please be patient...
there are many other threads, on how to take the fairing off etc, so i may refer to a link in my thread for that, but it will take time...all picts were taken with my phone (which has a pretty decent camera), i will do more video tutorials, when i get a good video camera...
As an overview, always make sure you take your time and be patient, try to make a to-do list, before you get started. relax and get to work, keep moving, it may seem like it is taking forever, soon enough, you'll be done. Dont cut corners! cover parts of the bike that are exposed (front fender, etc.), one slip of a wrench can be costly
I still have my 2008 and will be doing some major upgrades, coming up soon, so stay tuned for that also...
the bike in question is a 2007 streetglide, as I have explained in another thread, I didnt get paid to do the install, so i figured i would post most of it and explain things as i go along, so that someone gets something out of it... lets start with a pict of the bike...
i need to upload a ton of picts to photobucket, so again, please be patient...
there are many other threads, on how to take the fairing off etc, so i may refer to a link in my thread for that, but it will take time...all picts were taken with my phone (which has a pretty decent camera), i will do more video tutorials, when i get a good video camera...
As an overview, always make sure you take your time and be patient, try to make a to-do list, before you get started. relax and get to work, keep moving, it may seem like it is taking forever, soon enough, you'll be done. Dont cut corners! cover parts of the bike that are exposed (front fender, etc.), one slip of a wrench can be costly
Last edited by Gtsdesigns; 04-09-2009 at 03:03 PM.
#2
04-09-2009, 02:19 PM
Join Date: Feb 2008
Location:
Posts: 802
Likes: 0
Received 0 Likes
on
0 Posts
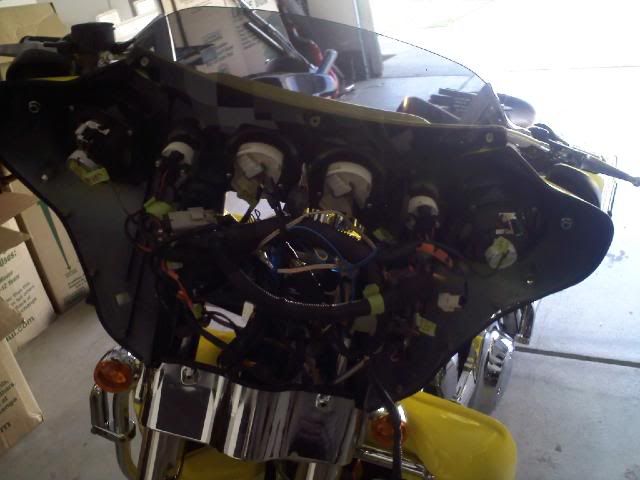
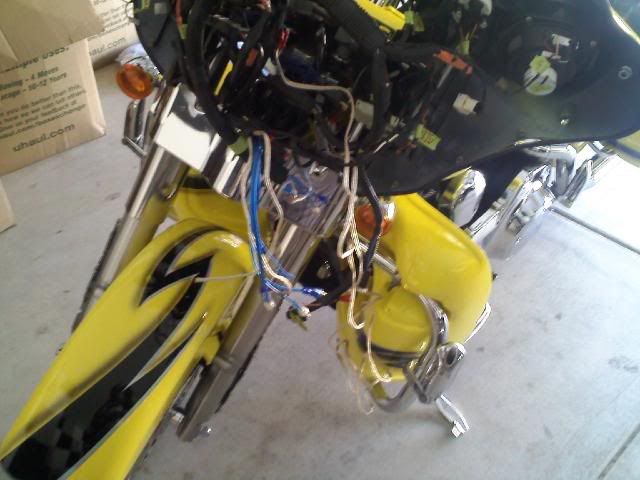
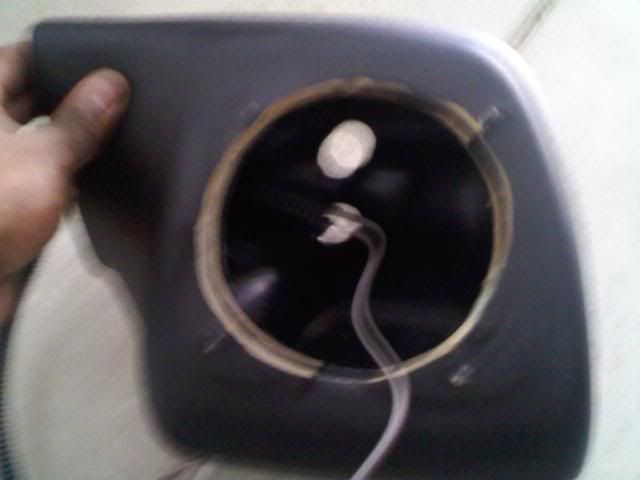
Started off with this, as the bike was getting painted, only had to remove the inner fairing, which had been put back on the bike for mock up (then the bike was put back together, making me have to take it apart again, to finish the install:
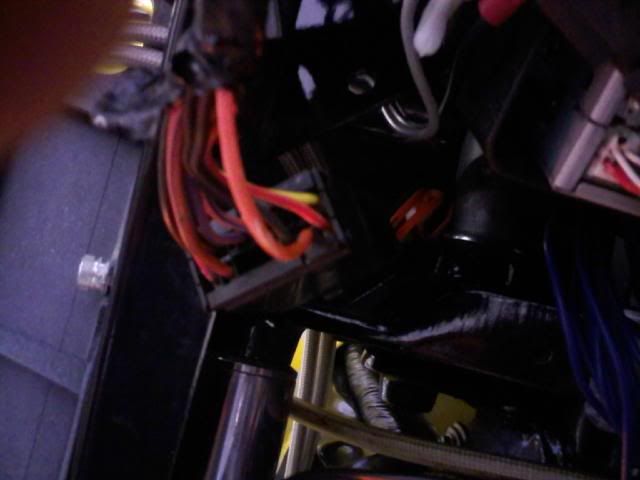
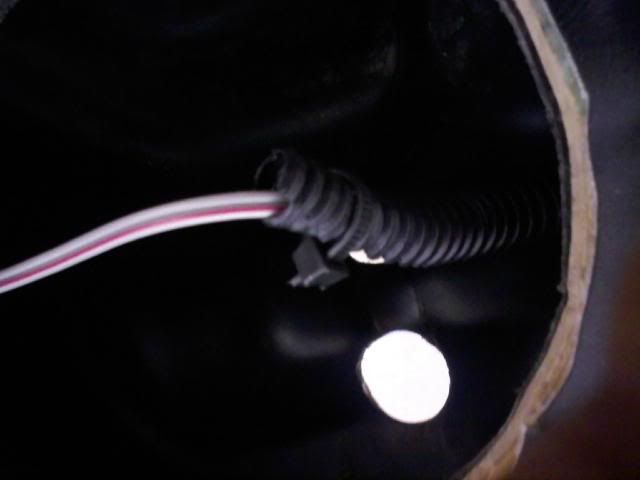
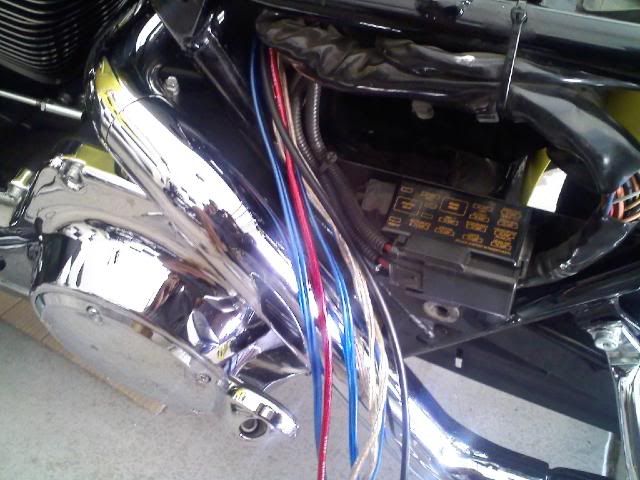
so i ran all the wires, under the tank and inside the factory harness shroud, while it was already apart (ran 4ch. rca, for audio front and rear, remote for amp turn on, and 16 gauge speaker wire for the front components)
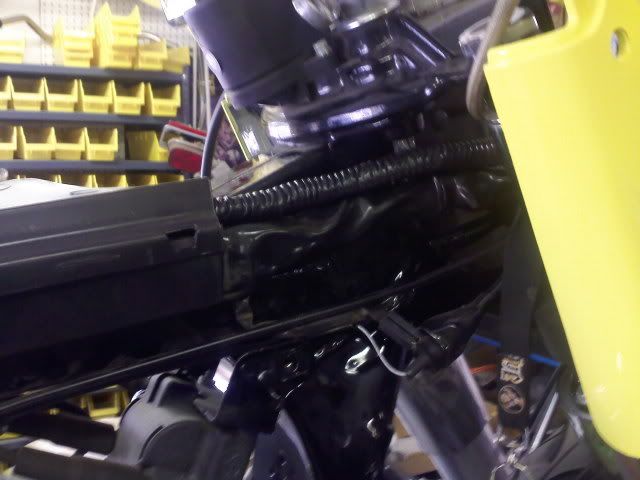
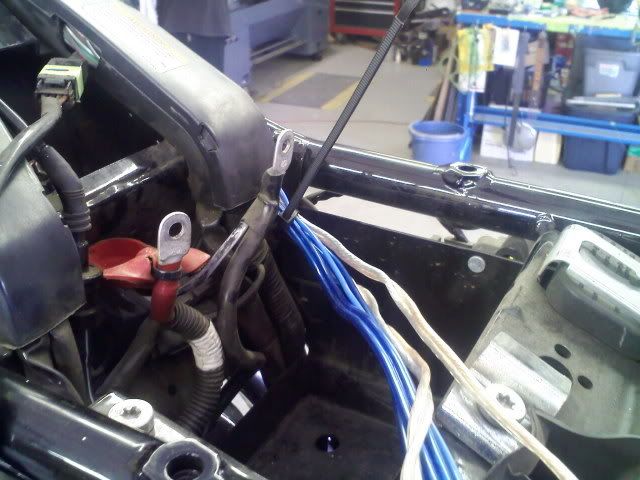
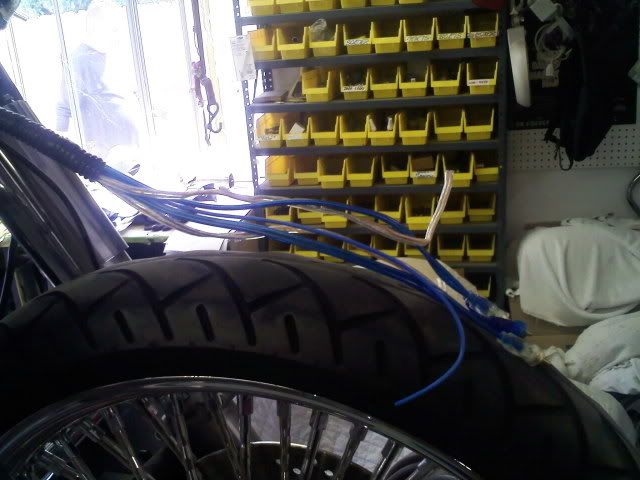
I ran the wires, then electrical taped over them, to make them blend in a little better with the factory wires. Before running the wires, make sure to mark one set of Rcas on both sides, so that you know which one is your front or rear rca (i used a piece of electrical tape, put a piece on both ends, then took it off when i was done with the amp, this saves a little time in the latter stages of the install)
so i ran all the wires, under the tank and inside the factory harness shroud, while it was already apart (ran 4ch. rca, for audio front and rear, remote for amp turn on, and 16 gauge speaker wire for the front components)
I ran the wires, then electrical taped over them, to make them blend in a little better with the factory wires. Before running the wires, make sure to mark one set of Rcas on both sides, so that you know which one is your front or rear rca (i used a piece of electrical tape, put a piece on both ends, then took it off when i was done with the amp, this saves a little time in the latter stages of the install)
Last edited by Gtsdesigns; 04-09-2009 at 02:37 PM.
#3
04-09-2009, 02:19 PM
Road Master
#4
04-09-2009, 02:33 PM
Join Date: Feb 2008
Location:
Posts: 802
Likes: 0
Received 0 Likes
on
0 Posts
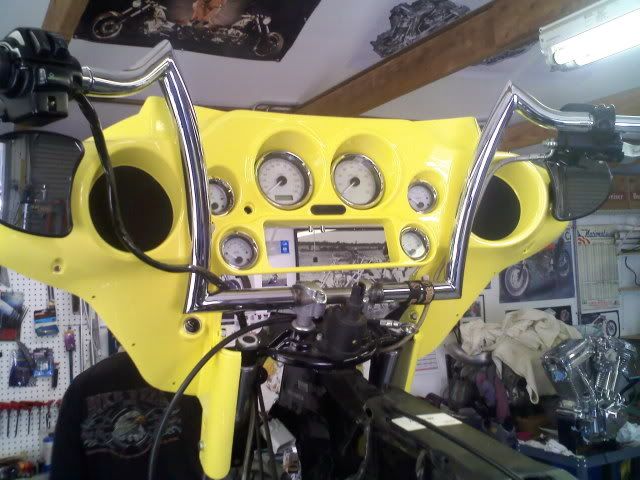
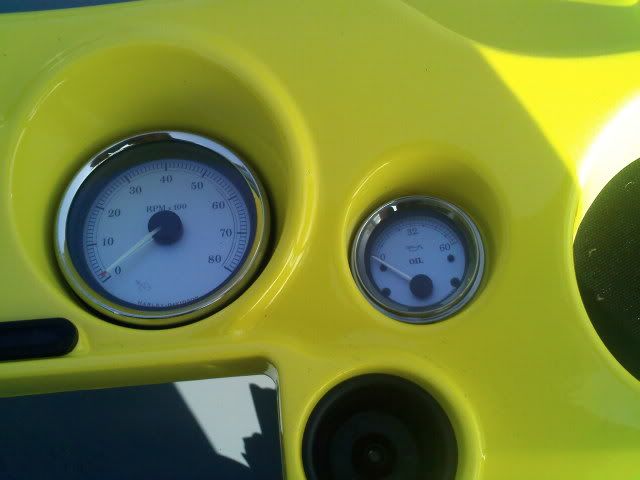
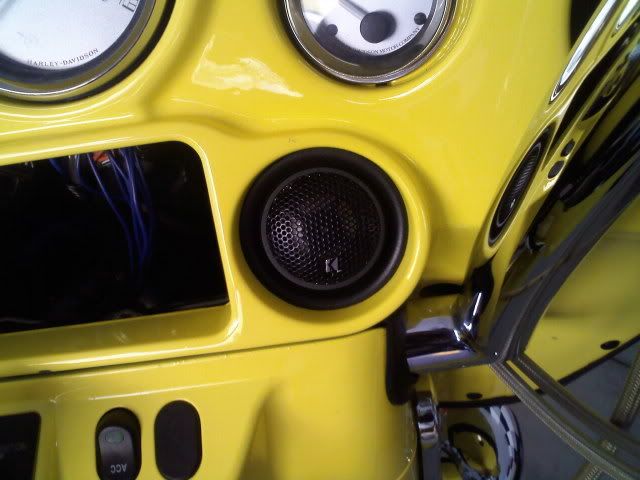
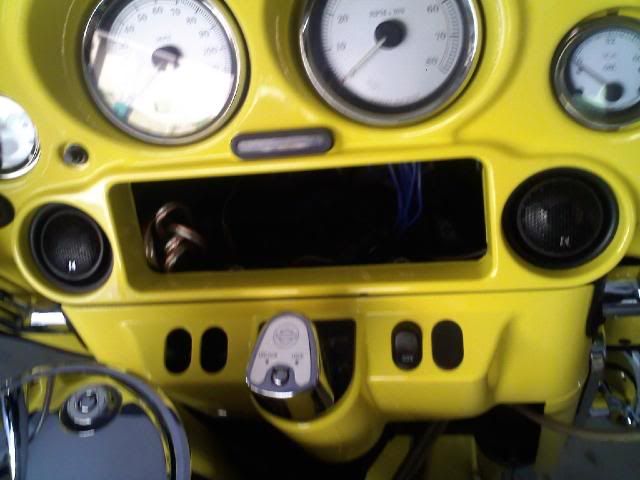
While still at the painters, I also installed some tweeters in the inner fairing, now, where do i put them:
In anything I do, i like functionality, but also want it to be clean... I flush mount my tweeters in my own bike so that they do not stick out, much. this bike's inner was already painted (because of an impatient a$$ painter), so i couldn't mold the tweeters in and have him paint the bezels. I/and or owner opted to take out two of the gauges (volt and temp). the oil dipstick was replaced, with the digital one and a volt gauge will be placed in the bag, near the amp to provided that information...
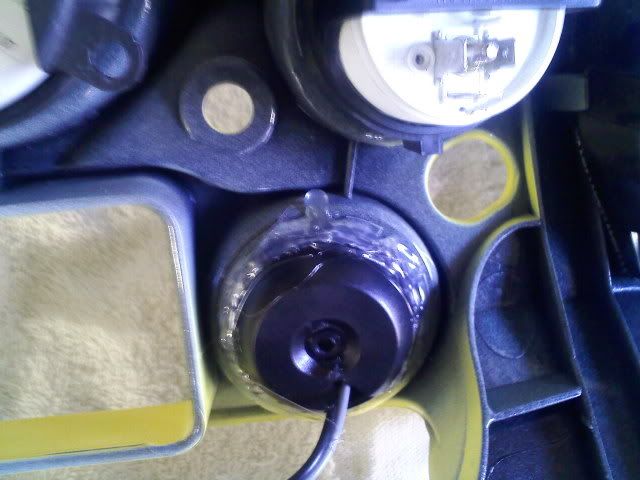
in this case I used some Kicker tweeters (i had laying around, brand new). they were a little to big, so I carefully filed the bezel down to fit in snug, and hot glued it in (from the back), to ensure proper installment (this did not damage the fairing at all and the gauges can be put bag, as with most everything else i did):
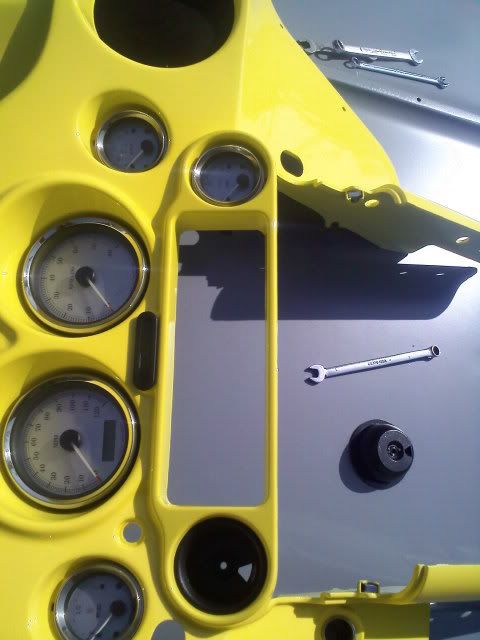
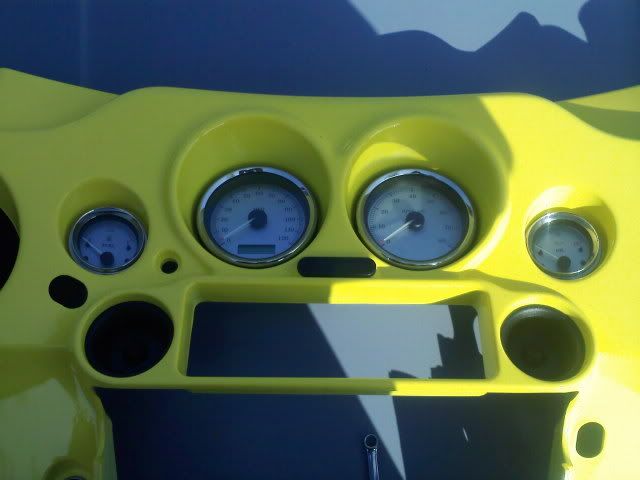
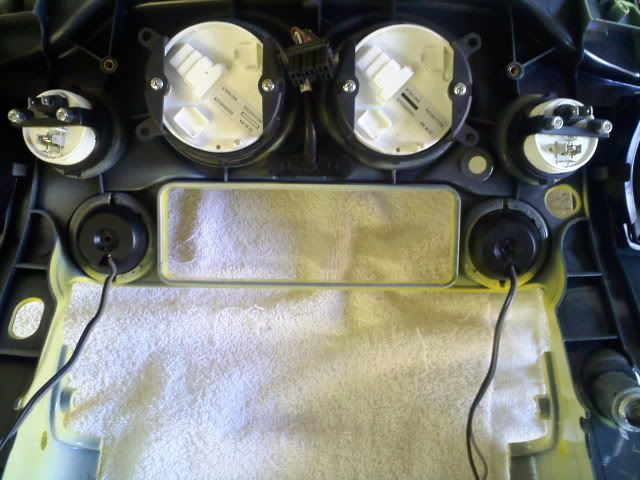
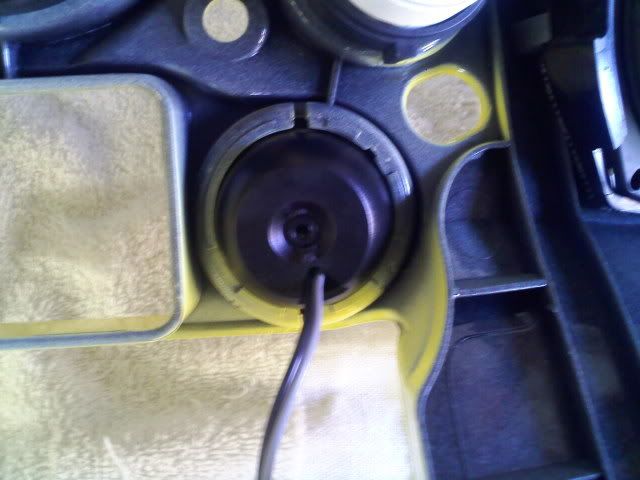
all glued in:
In anything I do, i like functionality, but also want it to be clean... I flush mount my tweeters in my own bike so that they do not stick out, much. this bike's inner was already painted (because of an impatient a$$ painter), so i couldn't mold the tweeters in and have him paint the bezels. I/and or owner opted to take out two of the gauges (volt and temp). the oil dipstick was replaced, with the digital one and a volt gauge will be placed in the bag, near the amp to provided that information...
in this case I used some Kicker tweeters (i had laying around, brand new). they were a little to big, so I carefully filed the bezel down to fit in snug, and hot glued it in (from the back), to ensure proper installment (this did not damage the fairing at all and the gauges can be put bag, as with most everything else i did):
all glued in:
Last edited by Gtsdesigns; 04-09-2009 at 03:27 PM.
#5
04-09-2009, 02:35 PM
Join Date: Feb 2008
Location:
Posts: 802
Likes: 0
Received 0 Likes
on
0 Posts
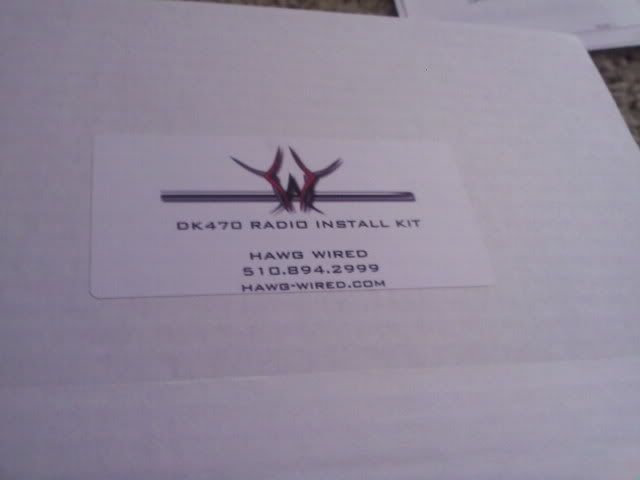
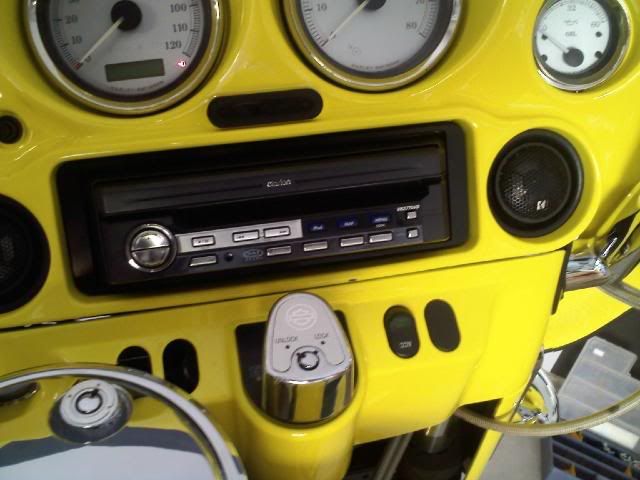
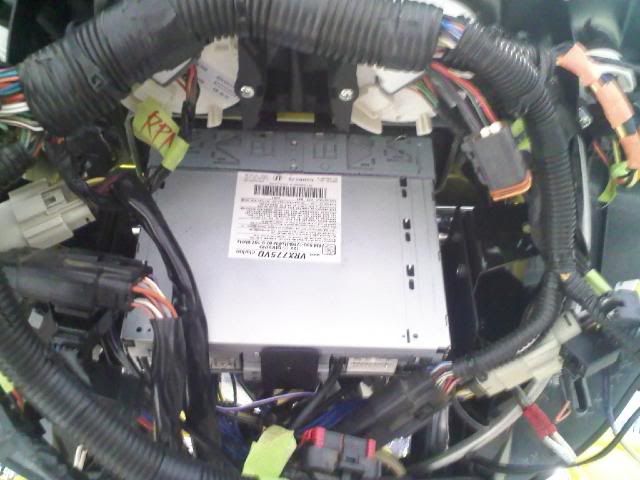
While waiting on the painter I "prepped the stereo"... I cant say enough about the Hawg-Wired radio/bezel install kit (I didn't get the harness though). I normally would make my own kit, as i did on my bike, but after getting the kit, i ordered another one for my bike (just sittin' in the closet).. it is made out of metal and bolts on using the factory screws and location... anyhow i installed the radio in it, on the couch (it only took, two minutes to put it on the bike, once i got it in the garage):
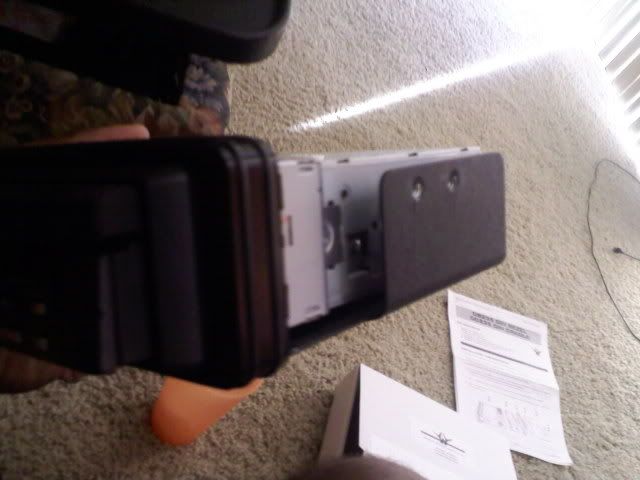
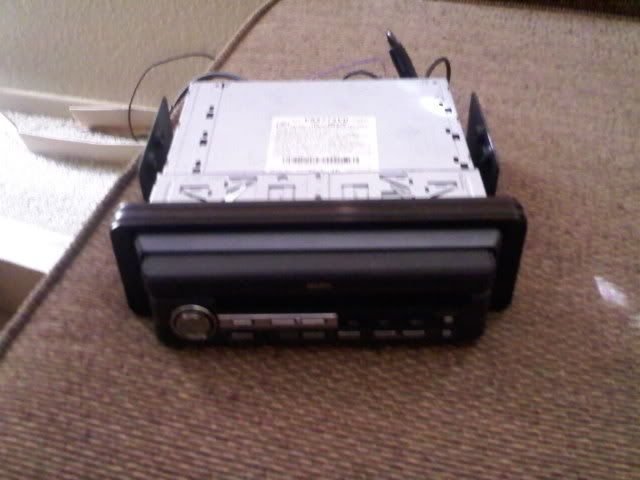
dont mind the clarion indash dvd, it sticks out a bit more than normal radios and dvd players, this the reason it isnt completely flush... any other radio would be much more flush...
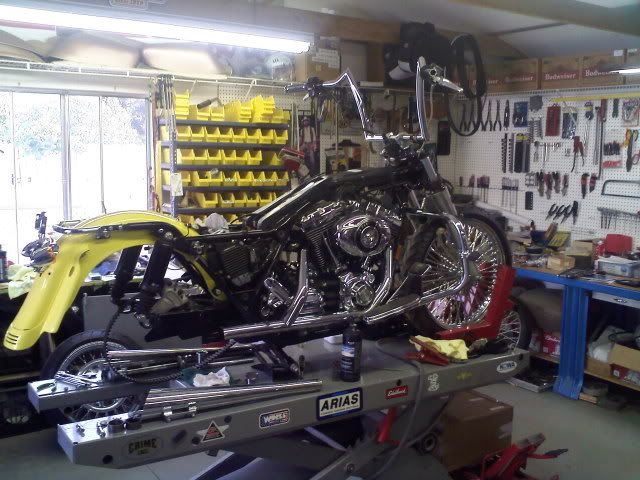
when i got the bike back, it was put back together and i had to take it back apart, to finish up a bit. back in the garage:
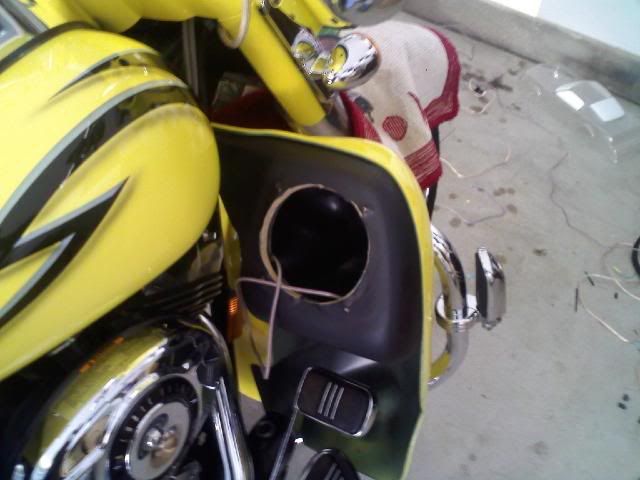
now to take the outer fairing back off, it is fairly easy to do (and although i have many tools, i opted to use the tool kit that came with the harley). there are three screws on the outer fairing, 4 accessed in the inner, then unplug the headlight (there are many tutorials on this, so i will plug the link in later, for things that have been covers elsewhere)...
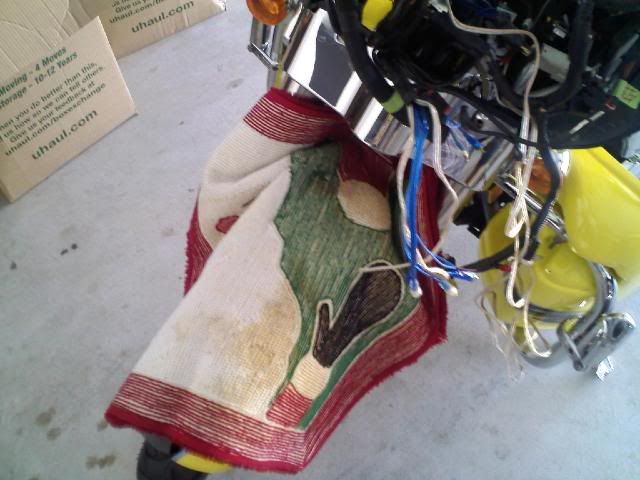
lay a nice cover or blanket down, away from your work area, to keep things organized and protect painted parts
again, lay a cover over any parts you want to protect (a nice thick piece of fleece worked for me):
first i installed the hawg-wired kit, with the player in it... took about 1 minute and the radio/kit slid in from the inner fairing, just be careful not to scratch the fairing up...
using the factory screws, secured the player in place

Last edited by Gtsdesigns; 04-09-2009 at 04:11 PM.
#6
04-09-2009, 02:39 PM
Join Date: Feb 2008
Location:
Posts: 802
Likes: 0
Received 0 Likes
on
0 Posts
I wanted to get the wiring up front done to about 90-99%, before i moved on, checing it all before i put the bike back together though...
wiring up the radio was pretty easy, before i go on, i must say that proper tools, not only help get the job done easier, more efficiently, but also can save you from fatigue (much faster)...
computer safe power probe, wire splicers, wire crimper/cuter, hot glue gun, etc.

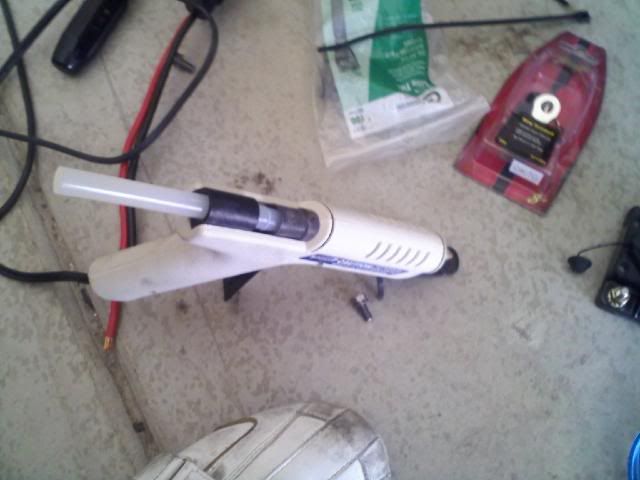
power probe in middle, i am holding the wire harness for the factory radio... now to test for power, ground and acc. for the radio (which i already knew which ones they were). always check the wires again, before splicing or cutting, even if you have a manual or someone tells you which color it is (never know how tired one can be, and make an easy mistake)
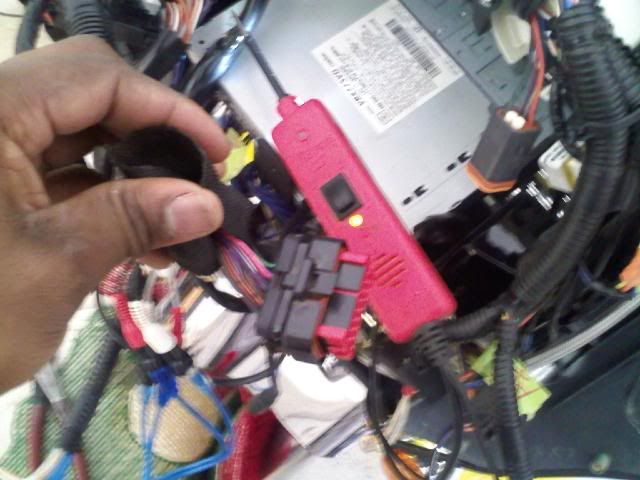
anyhow, by using the power probe, i double checked that the:
constant power was a red wire with orange stripe (+12v).. there were two either will work
the acc, switched power was an orange wire with blue stripe
the ground was a black wire with green stripe
remember double check all wires, before going any further...
I peeled the black (split loom) covering back to expose the wires i needed and carefully cut them (one at a time, and covered the constant power with electrical tape)...
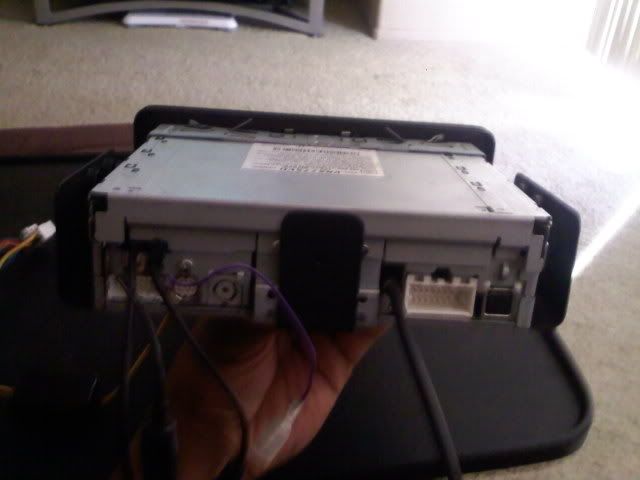
in this case (for the clarion) i knew i needed 4 wires (off the back of the radio). yellow=constant, red=acc., black=ground, green=parking brake ground
most color codes are pretty much the same, on these types of radios, but as i said, double check everything (and read the manual for your particular unit)... i also knew i would be using the clarions radio amp, to power the speakers in the lowers (for less stress on the Alpine amp), so i left those wires exposed, along with a blue/white stripe wire for amp remote turn on... everything else, i taped off and made sure none of the wires were exposed...i prepped both harnesses for connecting
i connected the wires to the factory harness, and tested that the radio powered up properly, which it did. i connect the remote from the radio to the pre-ran wire for the amp and connected the rcas (using the pre marked rca appropriately)
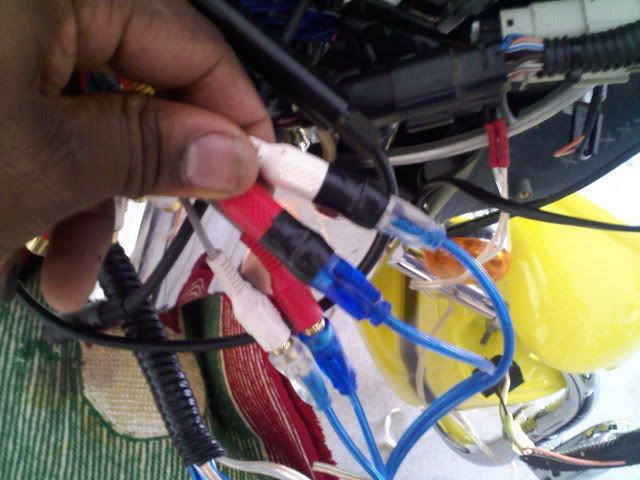
tape each rca together with the radio, so that they will not come lose (while riding, although good rca probably wont, just do it and save yourself aggravation later)
wiring up the radio was pretty easy, before i go on, i must say that proper tools, not only help get the job done easier, more efficiently, but also can save you from fatigue (much faster)...
computer safe power probe, wire splicers, wire crimper/cuter, hot glue gun, etc.
power probe in middle, i am holding the wire harness for the factory radio... now to test for power, ground and acc. for the radio (which i already knew which ones they were). always check the wires again, before splicing or cutting, even if you have a manual or someone tells you which color it is (never know how tired one can be, and make an easy mistake)
anyhow, by using the power probe, i double checked that the:
constant power was a red wire with orange stripe (+12v).. there were two either will work
the acc, switched power was an orange wire with blue stripe
the ground was a black wire with green stripe
remember double check all wires, before going any further...
I peeled the black (split loom) covering back to expose the wires i needed and carefully cut them (one at a time, and covered the constant power with electrical tape)...
in this case (for the clarion) i knew i needed 4 wires (off the back of the radio). yellow=constant, red=acc., black=ground, green=parking brake ground
most color codes are pretty much the same, on these types of radios, but as i said, double check everything (and read the manual for your particular unit)... i also knew i would be using the clarions radio amp, to power the speakers in the lowers (for less stress on the Alpine amp), so i left those wires exposed, along with a blue/white stripe wire for amp remote turn on... everything else, i taped off and made sure none of the wires were exposed...i prepped both harnesses for connecting
i connected the wires to the factory harness, and tested that the radio powered up properly, which it did. i connect the remote from the radio to the pre-ran wire for the amp and connected the rcas (using the pre marked rca appropriately)
tape each rca together with the radio, so that they will not come lose (while riding, although good rca probably wont, just do it and save yourself aggravation later)
Last edited by Gtsdesigns; 04-10-2009 at 02:04 AM.
#7
04-09-2009, 02:39 PM
Join Date: Feb 2008
Location:
Posts: 802
Likes: 0
Received 0 Likes
on
0 Posts
now, as far as the "parking brake" or green wire... this is the fun part. most people would just ground this wire and normally that would allow you to watch a movie while the vehicle is in motion. normally (legally) you are supposed to wire this up to the parking brake, when the brake is use, it sends ground to this wire, allowing you to view movies (otherwise every other function of the radio works but that one)
most people would just ground this wire, or when that doesn't work, they will wire this to a toggle switch (which Clarion requires you to wait until the radio is powered up, before you put the "parking brake" on, or flip the switch). this normally prevents you from being able to simply ground this wire, permanently (it has to be switched).
as i said earlier, i like things to be functional and clean, so I used the bike's factory auxilary switch (which isn't being used for anything else) to "throw" a ground to the radio. How do you use power to "throw" a ground? Simple, use a relay.
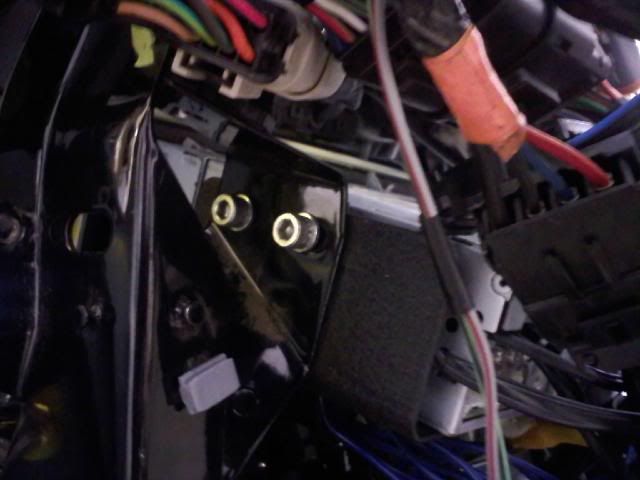
there were three wires on the back of the aux switch, which run to another harness
i tested which wire, when the switch is in the on position, sends power to the aux harness (which happened to be located under the seat). after finding the wire, i cut it "after" the harness, this wire will be connected to the relay...
now for the relay, many will work, with a basic understanding of relays. anyhow, the one i used had 4 prongs

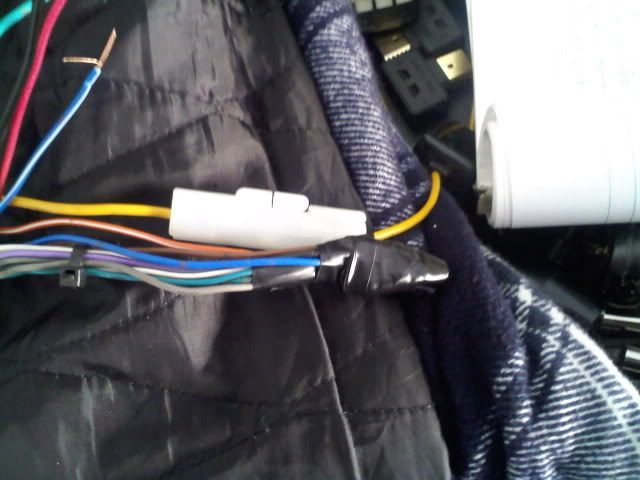
i use a relay connector when i do relays, to make it easier to replace the relay, if nec.
in this relay harness, there is one wire for each prong... i will try to make this less confusing as possible...
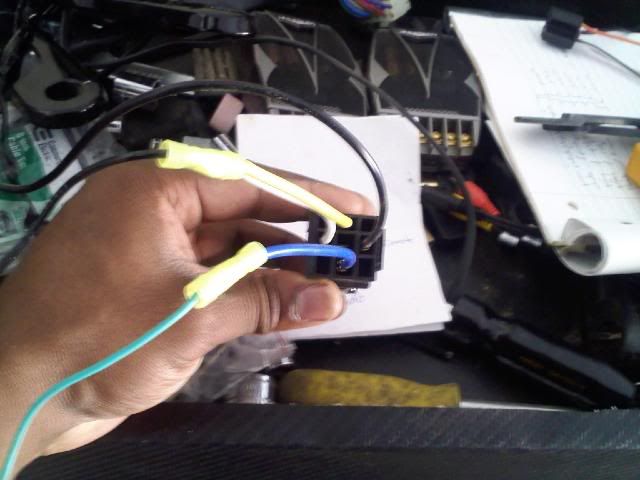
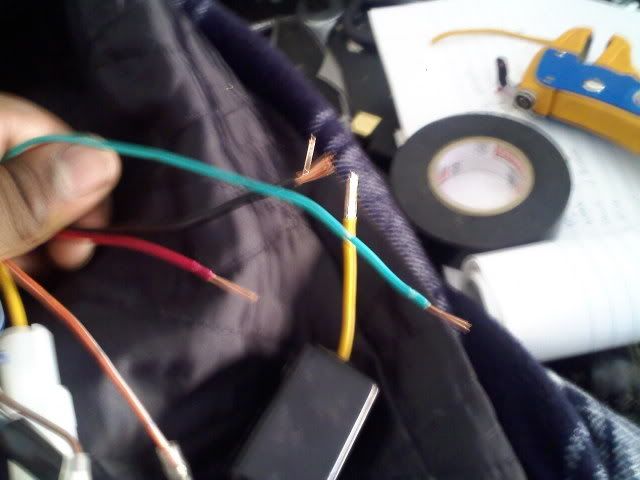
in this case, a yellow opposite a blue, and a white opposite a black...
two opposite wires have to be used for power and ground... lets just say black and white, white being power and black being ground... what i did was wire the white to the factory aux. switch, so that when the aux button is pushed to on, it sends power to the relay...
the black wire just needs to be grounded...
now for the other two... what ever you want to "throw", needs to be wired to one of these prongs (doesnt matter which one)... the other side, needs to be wired to what you are trying to switch... in a nut shell...
i want to send ground to the radio (parking brake wire), so i wired the black and yellow wire together (cause i had to ground the relay and i want to send ground to the other side of the relay)...
i wired the blue to the green wire from the radio (cause it is what needs to receive a "switched" ground)
then wired the white to the wire sending power from the aux switch... so when the aux button is switched, the relay sends ground to the radio... seems like alot, but the relay only took about 1 minute to wire up

most people would just ground this wire, or when that doesn't work, they will wire this to a toggle switch (which Clarion requires you to wait until the radio is powered up, before you put the "parking brake" on, or flip the switch). this normally prevents you from being able to simply ground this wire, permanently (it has to be switched).
as i said earlier, i like things to be functional and clean, so I used the bike's factory auxilary switch (which isn't being used for anything else) to "throw" a ground to the radio. How do you use power to "throw" a ground? Simple, use a relay.
there were three wires on the back of the aux switch, which run to another harness
i tested which wire, when the switch is in the on position, sends power to the aux harness (which happened to be located under the seat). after finding the wire, i cut it "after" the harness, this wire will be connected to the relay...
now for the relay, many will work, with a basic understanding of relays. anyhow, the one i used had 4 prongs
i use a relay connector when i do relays, to make it easier to replace the relay, if nec.
in this relay harness, there is one wire for each prong... i will try to make this less confusing as possible...
in this case, a yellow opposite a blue, and a white opposite a black...
two opposite wires have to be used for power and ground... lets just say black and white, white being power and black being ground... what i did was wire the white to the factory aux. switch, so that when the aux button is pushed to on, it sends power to the relay...
the black wire just needs to be grounded...
now for the other two... what ever you want to "throw", needs to be wired to one of these prongs (doesnt matter which one)... the other side, needs to be wired to what you are trying to switch... in a nut shell...
i want to send ground to the radio (parking brake wire), so i wired the black and yellow wire together (cause i had to ground the relay and i want to send ground to the other side of the relay)...
i wired the blue to the green wire from the radio (cause it is what needs to receive a "switched" ground)
then wired the white to the wire sending power from the aux switch... so when the aux button is switched, the relay sends ground to the radio... seems like alot, but the relay only took about 1 minute to wire up
Last edited by Gtsdesigns; 04-09-2009 at 05:21 PM.
Trending Topics
#8
04-09-2009, 02:40 PM
Join Date: Feb 2008
Location:
Posts: 802
Likes: 0
Received 0 Likes
on
0 Posts
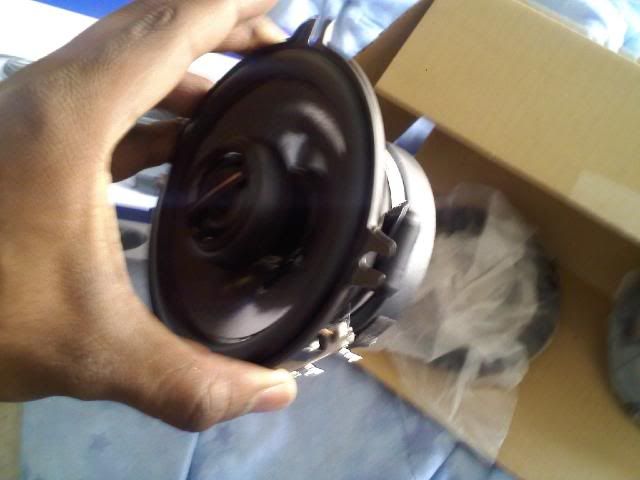
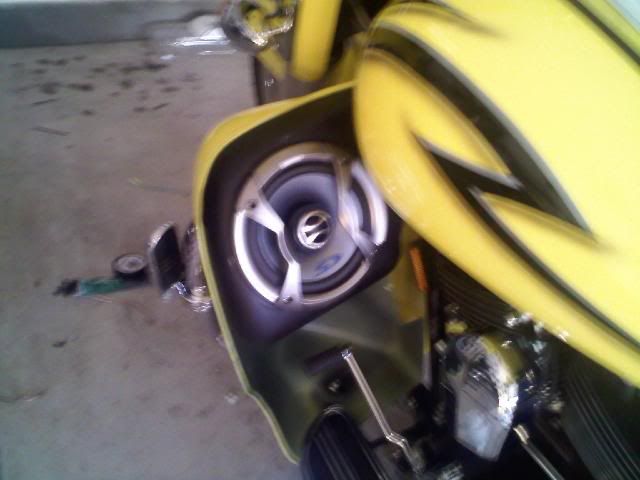
Now that the radio is pretty much wired up... i replaced the factory fairing speakers with some Alpines
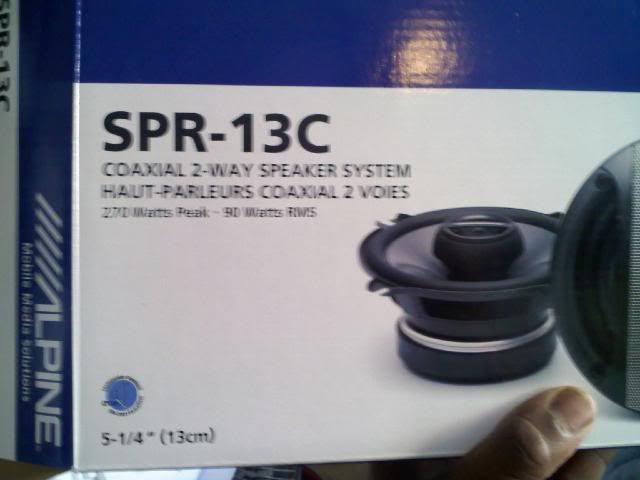
for the money, these things rock...4 bolts take the factory speakers out and same bolts used to bolt the new ones in...
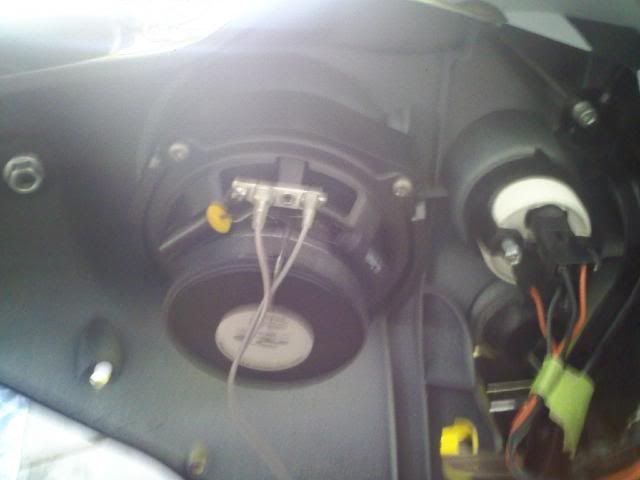

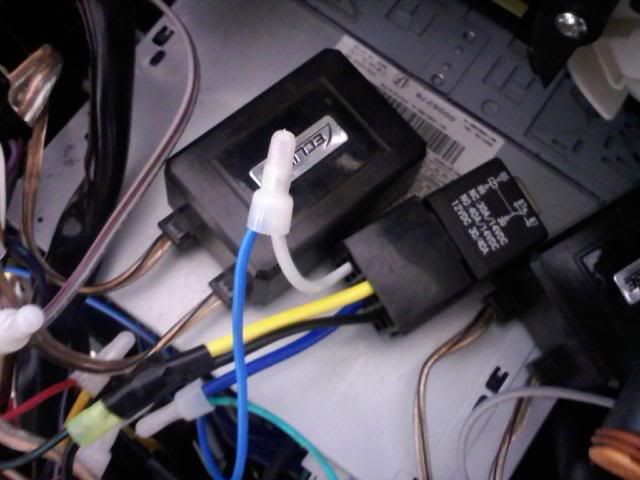
these speaker are similar to separates, since i added the kicker tweeters in the gauges pockets, i used a small eclipse tweeter crossover to keep the freq. in check (shown in pict next to relay)
... one speaker and tweeter together for left and one pair for right, and connected them to the speaker wire i pre-ran, back to the battery tray (for the amp)... i ran one wire down to each lower and connected this to the radio amp (front left and right) while i was at it...using split loom to help conceal the wire and ran the loom into the factory modified lower pocket, for the two 6.5s put in them...
for the money, these things rock...4 bolts take the factory speakers out and same bolts used to bolt the new ones in...
these speaker are similar to separates, since i added the kicker tweeters in the gauges pockets, i used a small eclipse tweeter crossover to keep the freq. in check (shown in pict next to relay)
... one speaker and tweeter together for left and one pair for right, and connected them to the speaker wire i pre-ran, back to the battery tray (for the amp)... i ran one wire down to each lower and connected this to the radio amp (front left and right) while i was at it...using split loom to help conceal the wire and ran the loom into the factory modified lower pocket, for the two 6.5s put in them...
Last edited by Gtsdesigns; 04-10-2009 at 11:16 AM.
#9
04-09-2009, 03:34 PM
Join Date: Feb 2008
Location:
Posts: 802
Likes: 0
Received 0 Likes
on
0 Posts
#10
04-09-2009, 05:42 PM
Join Date: Feb 2008
Location:
Posts: 802
Likes: 0
Received 0 Likes
on
0 Posts
Moving forward to mounting the amp... a much cleaner set up, would be to run ARC Audio Mini amps. bike owner didn't want to spend the money (to get 2 of them). but it would have been nice to hide everything in the fairing, putting 1 6x9 in each bag and an amp in one of them...
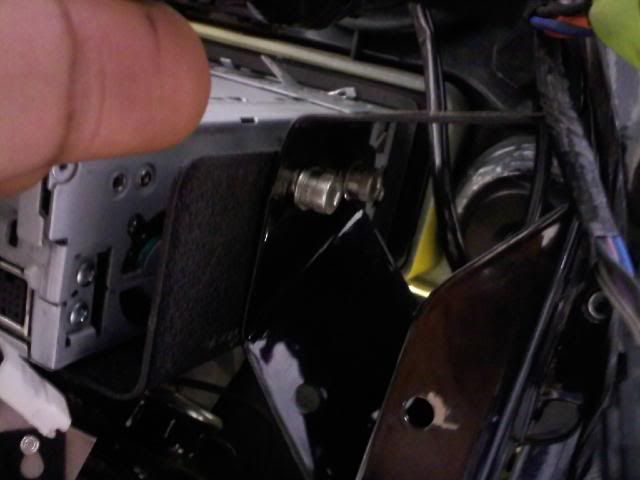
i removed both side covers and the bags, i took the big fuse (maxi fuse) out
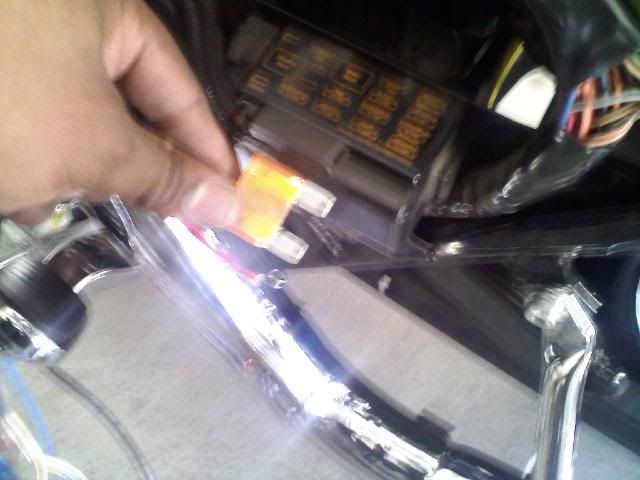
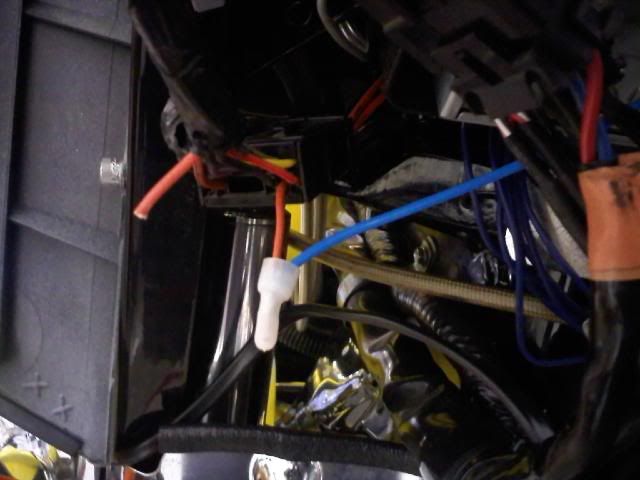
then removed the battery completely out, makes it easier to work with wires, i used 10 gauge wire (red for power, black for ground), put ring connectors on the end (to be attached to the battery)
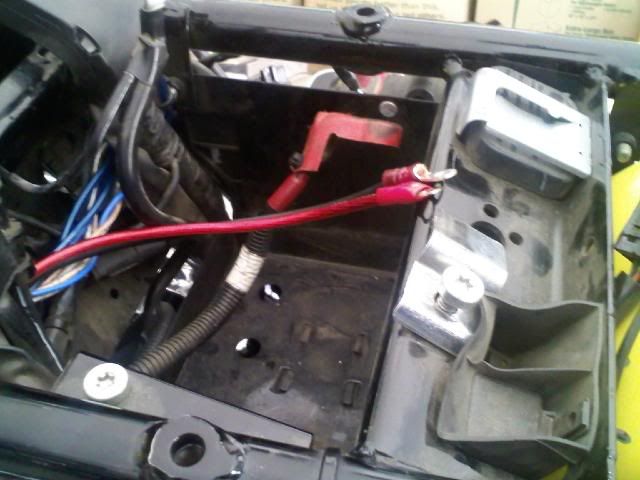
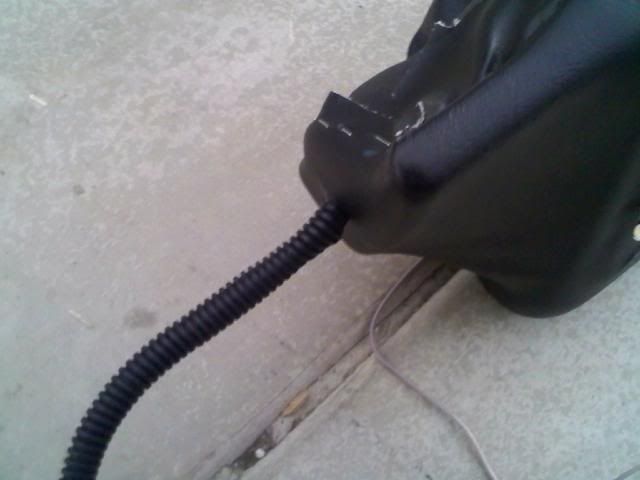
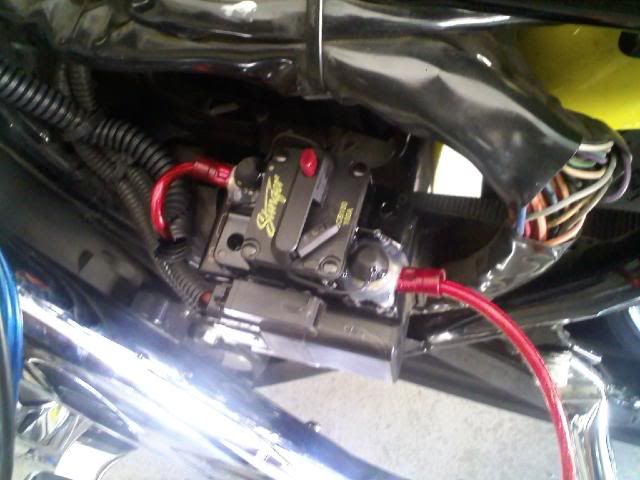
i used black split loom and electrical tape and ran the wires as clean as possible, trying to make it close to a factory look, the power and ground is ran along the left side (under the side cover), cause the amp is going in that bag. these wires are ran along with the wires ran from the radio and inner fairing speakers...
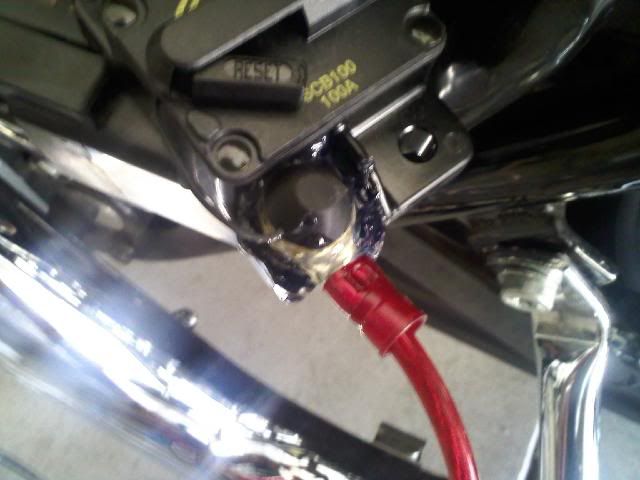
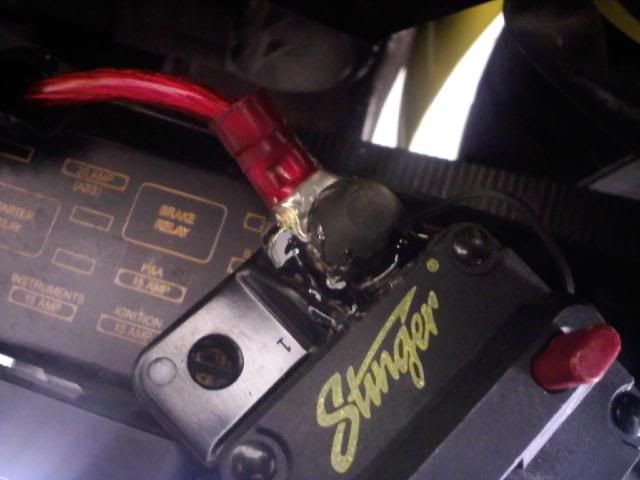
I chose to use a Stinger Circuit break (with a manual switch) for a couple of reasons. 1. i like the circuit breakers and you don't have to buy fuses, 2. when all the wires are quick connected and you disconnect the bag and take it off... its much easier to push the button and kill the power to the amp (where the wires would now be dangling)...
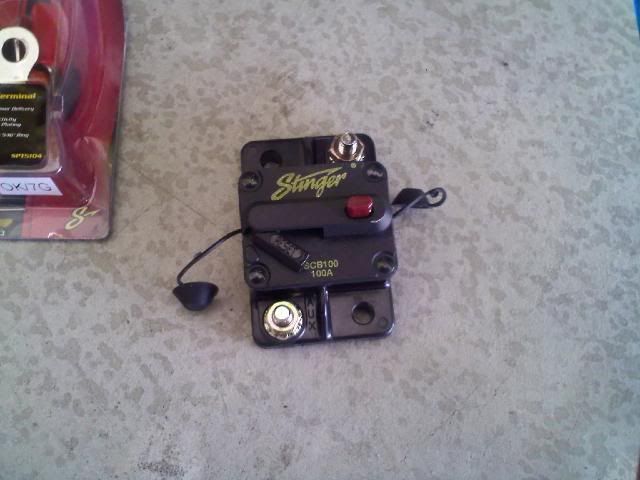
i knew i would be housing the breaker behind the left side cover with the rest of the bikes fuses, so i wired it up, be sure to hot glue gun over the posts, for added protection, i put the circuit breaker on top of the factory fuse box
i removed both side covers and the bags, i took the big fuse (maxi fuse) out
then removed the battery completely out, makes it easier to work with wires, i used 10 gauge wire (red for power, black for ground), put ring connectors on the end (to be attached to the battery)
i used black split loom and electrical tape and ran the wires as clean as possible, trying to make it close to a factory look, the power and ground is ran along the left side (under the side cover), cause the amp is going in that bag. these wires are ran along with the wires ran from the radio and inner fairing speakers...
I chose to use a Stinger Circuit break (with a manual switch) for a couple of reasons. 1. i like the circuit breakers and you don't have to buy fuses, 2. when all the wires are quick connected and you disconnect the bag and take it off... its much easier to push the button and kill the power to the amp (where the wires would now be dangling)...
i knew i would be housing the breaker behind the left side cover with the rest of the bikes fuses, so i wired it up, be sure to hot glue gun over the posts, for added protection, i put the circuit breaker on top of the factory fuse box
Last edited by Gtsdesigns; 04-10-2009 at 11:58 AM.